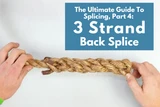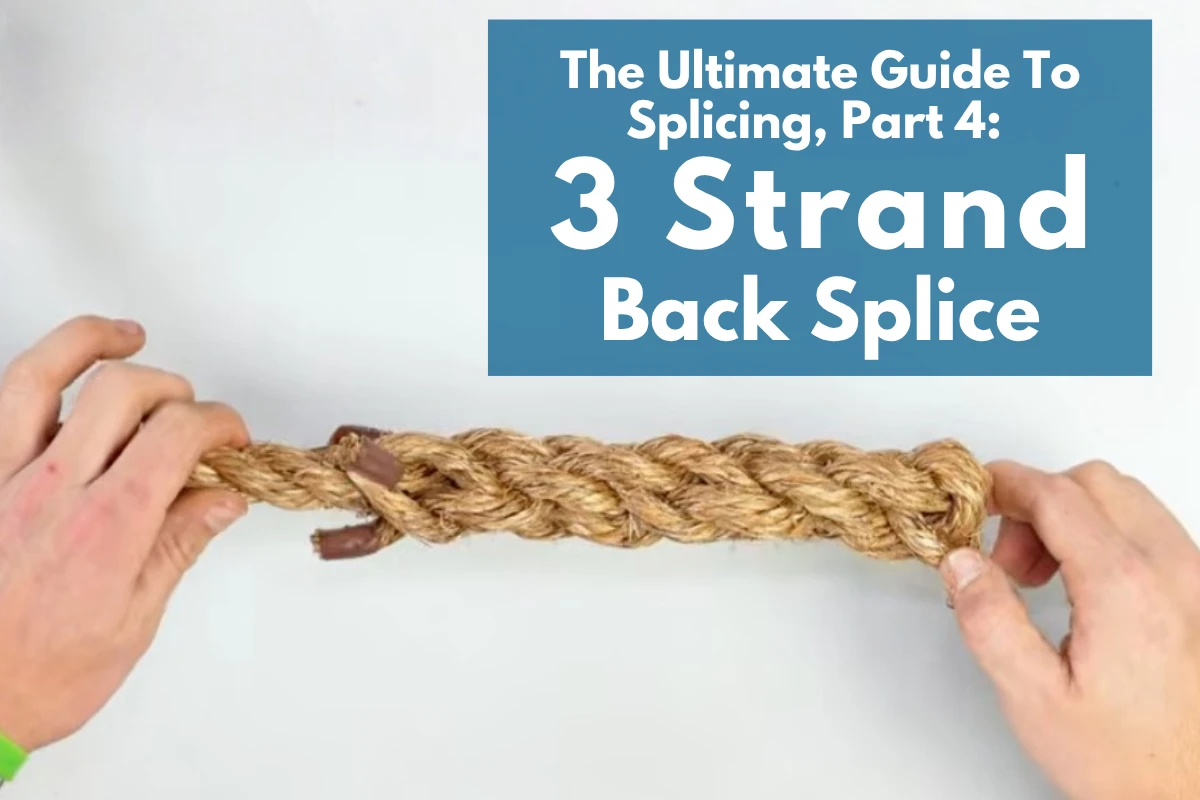
The Ultimate Guide To Splicing, Part 4: 3 Strand Back Splice
Estimated 0 min read
In Part 1 of our Ultimate Guide to Splicing, we learned how to make a double braid eye splice. Part 2 covered the 12-strand locking Brummel eye splice used on hollow braid HMPE rope. In Part 3, we built a three-strand rope to chain splice, one of the most useful splices for anchor rodes.
Now we're wrapping up the series with one of the simplest and most useful splices every rope owner should know: the three-strand back splice.
Unlike the previous splices in this series, a back splice is not used to create an attachment point or connect one piece of equipment to another. Instead, it finishes the end of a rope. It prevents the rope from unraveling, gives it a clean traditional appearance, and creates a slightly enlarged end that can even serve as a comfortable handle.
Whether you're working with nylon rope, polyester rope, polypropylene rope, manila rope, promanila rope, or another three-strand construction, a back splice is one of those practical skills that you'll probably use again and again.
And, as always, if you would rather have your rope professionally finished, RightRope.com can splice many of the ropes we sell before they ever leave our shop.
What Is a Back Splice?
A back splice is a method of permanently finishing the end of a three-strand rope.
Instead of wrapping the end with tape or relying solely on heat sealing, the rope strands are folded back onto themselves and woven into the standing part of the rope.
The finished splice locks the strands together, creating an end that is resistant to unraveling while giving the rope a clean, professional appearance.
For synthetic rope, a quick melt with a lighter may temporarily stop fraying, but a properly made back splice provides a much more durable finish. On natural fiber ropes like manila, where melting isn't an option, a back splice is often one of the best long-term solutions.
What Is a Back Splice Used For?
The primary purpose of a back splice is preventing the end of a rope from fraying.
As ropes are handled, dragged across surfaces, or repeatedly loaded and unloaded, the strands at the end naturally begin to loosen. Left alone, they eventually unravel farther and farther into the rope.
A back splice permanently locks those strands in place.
It also creates a slightly thicker end that many people find easier to grip. On utility ropes, gym ropes, and hand lines, that enlarged end can serve as a convenient handle or help keep the rope from slipping through your hand.
Because the splice increases the diameter of the rope end, it may also act as a simple stopper in certain situations.
One thing a back splice is not intended for is creating a load-bearing attachment point. Unlike an eye splice, it is not designed to connect hardware or carry working loads. Its purpose is finishing the rope, not increasing its strength.
Why Use a Back Splice Instead of Tape or Heat?
Almost everyone has wrapped electrical tape around the end of a rope at some point. It works, for a while.
Eventually tape can loosen, slide, or wear through. Heat sealing synthetic rope helps keep the fibers together, but repeated handling can still cause the end to become rough or mushroom out over time.
A back splice solves the problem for good. It becomes part of the rope itself, requires very little maintenance, and gives the rope a finished appearance that simply looks better.
If you've ever noticed the clean ends on quality dock lines, decorative ropes, or utility ropes, there's a good chance you're looking at a properly made back splice.
How To Make A Three Strand Back Splice
Tools Needed For a Three Strand Back Splice
- 3 Strand Rope
- Properly sized fid
- Electrical Tape
One nice thing about this splice is that it doesn't require much equipment. You'll need the three-strand rope you're working on, a fid to help separate the strands during the tucks, and some tape.
If you're working with natural fiber rope like manila, you'll also want a little extra tape for wrapping the individual strands after they're unraveled. Natural fibers begin to fray much more quickly than synthetic fibers, so keeping them under control makes the splice much easier.
Once your tools are ready, it's time to start measuring.
Before we get started, you may find a video easier to follow for this splice, especially for the crown knot section. You can watch our Back Splice video by clicking below!
Measure 12 Picks, Tape and Unravel
Begin by counting back 12 picks from the end of the rope.
If you're new to rope splicing, a pick is simply the distance from the top of one strand to the top of the next as the rope twists.
Count carefully until you reach the twelfth pick, then wrap a piece of tape around the rope at that point. This tape serves as your stopping point while unraveling the strands and helps prevent the rest of the rope from coming apart while you work.
Now remove any tape from the very end of the rope. If you're working with a natural fiber rope such as manila, wrap a small piece of tape around each individual strand before continuing. This keeps the strands from fraying while you're handling them.
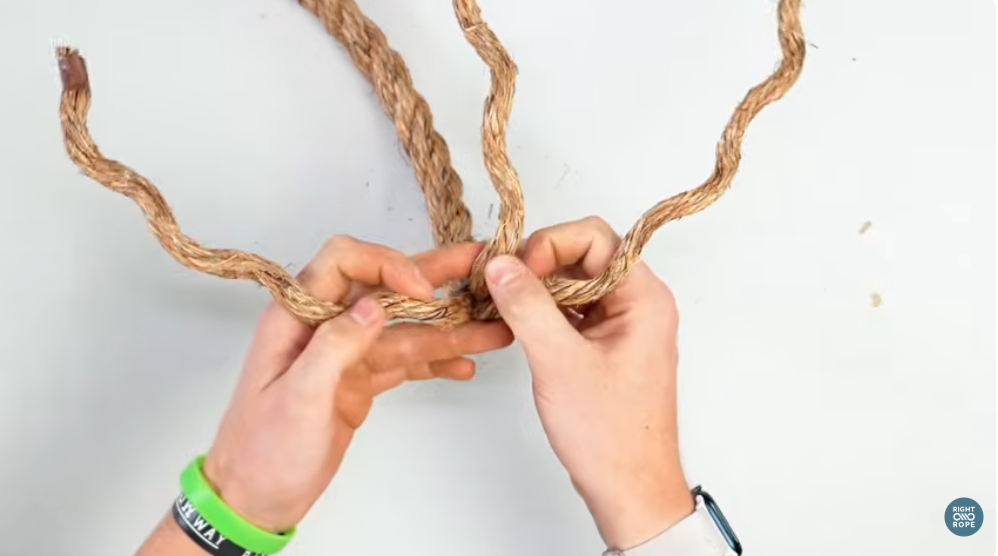
Now just untwist the rope until you reach the tape you placed at the 12-pick mark. You should now have three loose strands ready for the splice. Leave the tape at the 12-pick mark in place for now.
Tie the Crown Knot
Before making any tucks, you'll first tie what's known as a crown knot. Begin by rotating the three loose strands over each other in a counterclockwise direction.
Strand 1 goes over Strand 2. Then Strand 2 folds over Strand 1 to pass in front of Strand 3. Finally, Strand 3 comes over top of Strand 3 to go under the loop created by Strand 1.
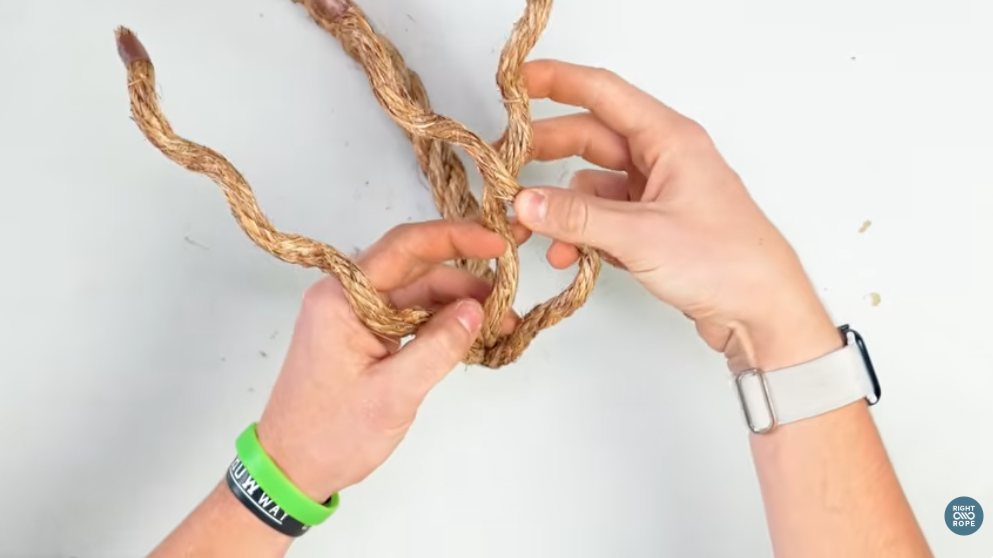
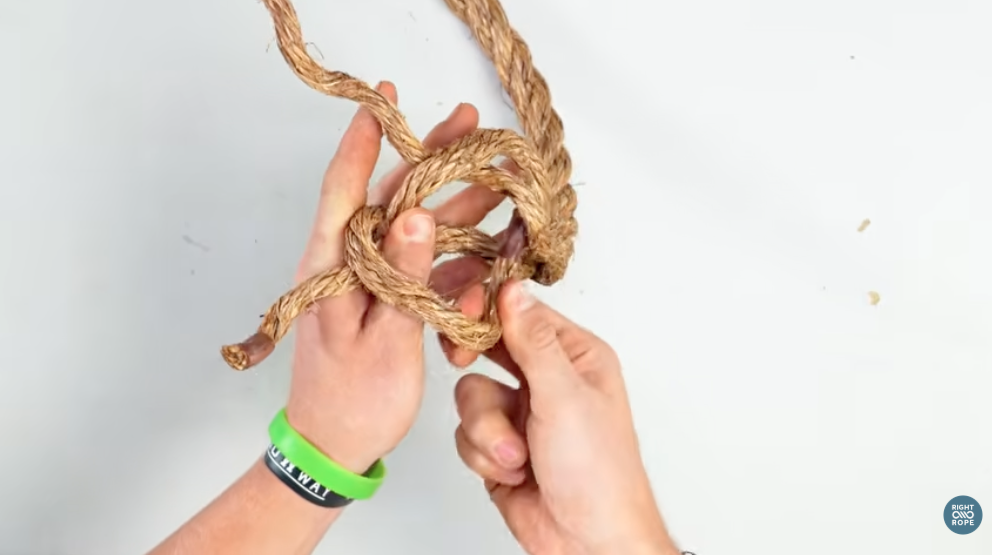
It may feel awkward the first time you do it, but once all three strands are woven together, begin tightening them one at a time. Pull each strand individually rather than trying to tighten everything at once.
As you continue pulling, the crown knot begins to draw together into a compact, symmetrical knot at the end of the rope. Once you've reached this point, you can remove the tape from the 12-pick mark. Keep tightening until the crown knot is as snug as you can reasonably make it.
A tight crown knot makes the rest of the splice much easier.
Begin the Back Splice
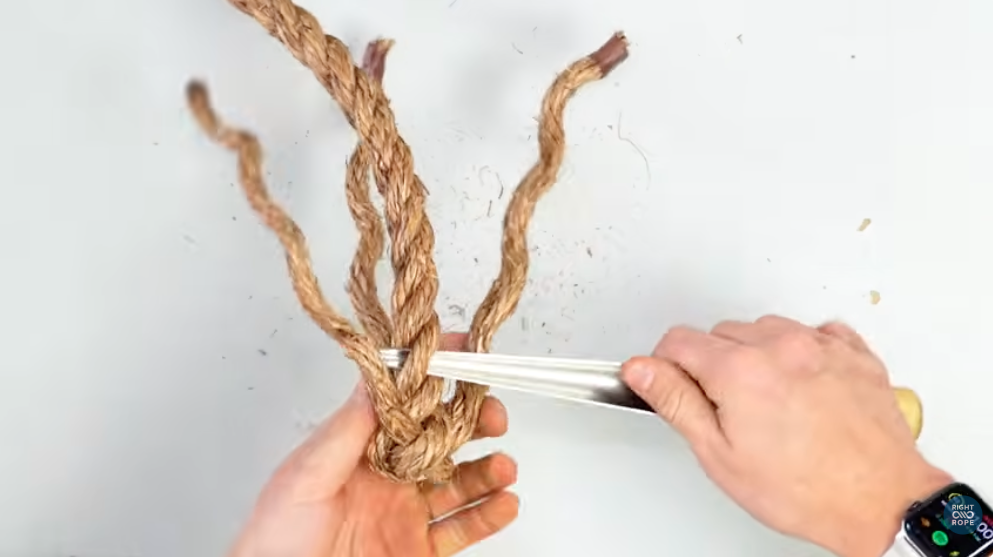
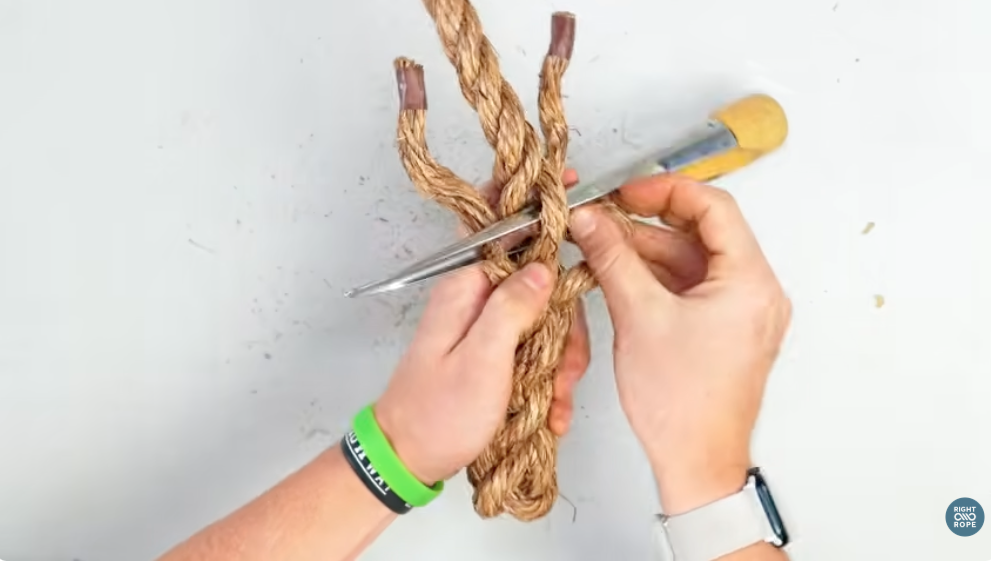
Once the crown knot is complete, the rest of the splice will probably feel familiar if you've already completed the rope to chain splice from Part 3. Each strand is tucked back into the standing rope by going over one strand and under the next.
Work one strand at a time. Before making each tuck, pull the strand firmly. This helps keep the crown knot tight while preventing gaps from developing at the top of the splice.
Use your fid to gently open the rope. The strands should pass cleanly through the rope without forcing them. Continue making your tucks in sequence around the rope.
Complete the Remaining Tucks
Continue the same over one, under one pattern until you've completed five total rounds of tucks. Unlike an eye splice, this splice isn't designed to support a working load. Because of that, you have a little flexibility.
If you prefer the appearance of a shorter splice, you can stop after three rounds of tucks and trim the strands flush with the rope. If you want a more traditional finish, continue through all five rounds.
Either approach works because you’re just creating a durable finished rope end rather than maximizing strength. Once you've completed the final round, trim the remaining strand ends neatly so they blend into the rope.
The finished back splice should appear balanced, compact, and firmly seated against the standing rope.
Common Mistakes To Avoid
Fortunately, there aren't many opportunities to get into trouble with a back splice. The biggest mistake is doing the crown knot wrong, or leaving the crown knot too loose.
If you’re having difficulty it may help to watch our youtube video section on the crown knot.
If you don't pull each strand individually while forming the crown knot, you'll end up chasing that looseness throughout the rest of the splice.
Another common mistake is forgetting to keep tension on the strands before each tuck. Pulling the strands tight as you go keeps everything neat and helps the finished splice hold its shape.
Finally, don't underestimate the value of tape when working with natural fiber rope. Manila and other natural fibers begin to unravel quickly once they're opened. Wrapping each individual strand before starting can save a lot of frustration later.
When Should You Use a Back Splice?
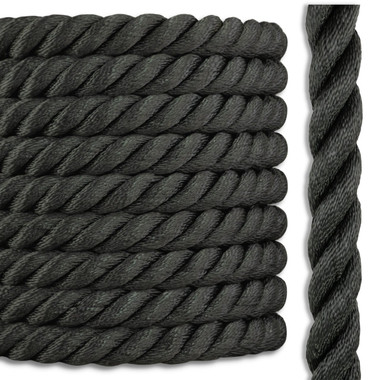
A back splice works well on almost any three-strand rope where you want a permanent finished end. You'll commonly see them on dock lines, utility ropes, decorative rope railings, landscaping rope, hand lines, gym ropes, agricultural rope, and countless general-purpose applications.
They're particularly useful on manila and promanila rope because natural fiber ends tend to fray more quickly than synthetic ropes if they're left unfinished. Many people also choose a back splice simply because it looks good. There's something satisfying about seeing a neatly finished rope instead of one wrapped with old electrical tape.
Can You Back Splice Rope Yourself?
You definitely can. In fact, this is often one of the first splices people learn because it introduces many of the same basic techniques used in other three-strand splices without requiring a precisely sized eye or connection to hardware.
Once you've tied the crown knot, the remainder of the splice follows the familiar over one, under one pattern. Take your time, keep the strands organized, tighten everything as you go, and don't hesitate to practice on a short scrap piece before working on your finished rope.
Like every splice in this series, it gets much easier after you've completed one or two.
Finish Your Rope the Right Way
A back splice may not be the flashiest splice you'll ever learn, but it's one of the most practical.
It keeps rope ends from unraveling, gives your rope a clean finished appearance, and adds a little extra durability to something you'll probably handle countless times over its life.
Whether you're finishing a dock line, a piece of manila rope for landscaping, a utility rope for the workshop, or simply learning another traditional rope skill, a back splice is time well spent.
If you'd rather skip the splicing and put your rope to work right away, RightRope.com offers a wide selection of premium three-strand ropes and can professionally splice many of them before shipping.
That wraps up our Ultimate Guide to Splicing series. From double braid eye splices to locking Brummels, rope to chain splices, and now the classic back splice, you've learned four of the most useful rope splices you'll encounter. If you want to learn some more splices, check out the Right Rope Youtube page! And remember, whether you decide to splice your own rope or have us do it for you, starting with the Right Rope is always the first step toward a dependable finished product.