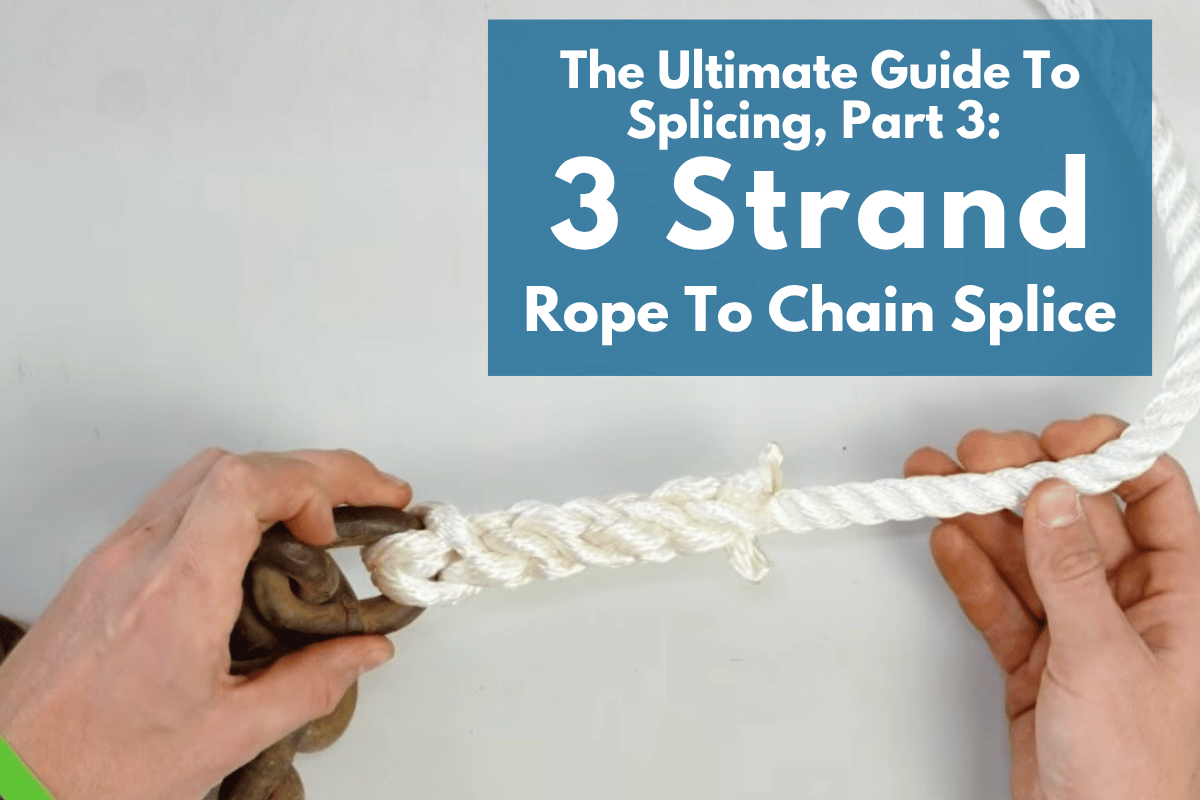
The Ultimate Guide To Splicing, Part 3: 3 Strand Rope To Chain Splice
Estimated 0 min read
In Part 1 of our Ultimate Guide to Splicing, we covered the double braid eye splice, one of the most common permanent loops for double braid rope. In Part 2, we moved over to hollow braid and walked through the 12-strand locking Brummel eye splice used on HMPE rope.
Now it is time to switch gears again.
This installment focuses on one of the most useful splices for boat owners, sailors, and anyone putting together an anchor rode: the three-strand rope to chain splice.
Unlike a standard eye splice, this splice permanently attaches a three-strand rope directly to a length of chain. The result is a smooth, dependable transition between rope and chain that is commonly used on anchor rodes because it feeds more cleanly through many bow rollers and windlasses than bulky knots or oversized hardware.
The splice itself is not difficult once you understand how the rope is oriented through the chain. If you already know a basic three-strand eye splice, you'll recognize much of the process.
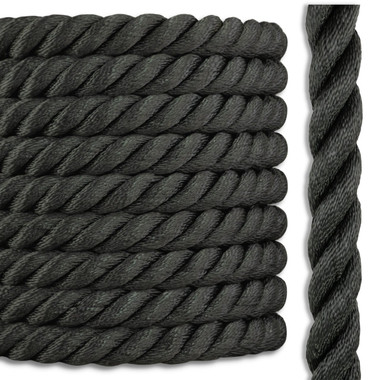
As always, the most important step happens before you ever pick up a fid. Make sure you're using the right rope for the job. RightRope.com carries high quality twisted three-strand nylon rope that’s perfect for an anchor line. Of course, we also sell three-strand nylon anchor lines with a splice and stainless steel thimble already in place if you want to skip the work and get right to sailing. All you’ll need is an anchor shackle to connect the two.
What Is a Rope To Chain Splice?
A rope to chain splice permanently connects a three-strand rope to a closed chain link.
Instead of tying a knot around the chain or attaching the rope with a shackle, the individual strands of the rope are woven back into the standing part of the line after being passed through the final chain link.
The finished splice creates a secure connection while maintaining a relatively smooth profile. That smoother transition is one reason rope to chain splices are so popular for anchor systems.
When done correctly, the rope exits the chain naturally, the splice remains compact, and there is very little excess material sticking out to catch on equipment.
What Is a Rope To Chain Splice Used For?
The most common application is an anchor rode.
An anchor rode is the rope, chain, or combination of the two that connects your anchor to your boat. The chain provides weight and abrasion resistance near the anchor, while the rope provides additional length and the stretch needed to absorb shock loads from waves, wind, and changing boat movement.
Three-strand nylon has long been the standard choice for anchor rodes because it is strong, durable, and naturally elastic. That stretch helps reduce sudden shock loads on your anchor, cleats, and deck hardware.
A properly made rope to chain splice creates a permanent connection between those two components without adding unnecessary bulk.
While this splice is primarily used for anchor systems, it can also be used anytime you need to permanently secure three-strand rope to a closed chain loop.
Why Use a Rope To Chain Splice Instead of a Knot?
It might seem tempting to simply tie the rope onto the chain. After all, knots are quick.
The problem is that most knots create a large lump that can interfere with equipment. They also reduce a rope's strength significantly compared to a properly made splice.
A rope to chain splice creates a much cleaner transition. Because the strands are woven directly back into the standing rope, the finished connection stays compact while remaining permanently attached to the chain.
If you're putting together an anchor rode that you'll rely on season after season, taking the time to splice it correctly is well worth the effort.
How To Make A Three Strand Rope To Chain Splice
Tools Needed For a Three Strand Rope To Chain Splice
- 3-Strand Rope (usually nylon for an anchor rode)
- Chain you are attaching to
- Properly sized fid for your rope (we like a swedish fid for the ease of passing through)
- Electrical tape
You'll need the three-strand rope you're splicing, the chain you're attaching it to, a fid to help separate the strands during the tucks, and some tape. We like a swedish fid for this splice because the hollow allows you to pass strands through easily.
Finally, before we get started we do have a great video on this splice that might be easier to follow. If you prefer a text explanation, read on. Otherwise, click below to watch the video on our youtube.
Measure 13 Picks, Tape and Unravel
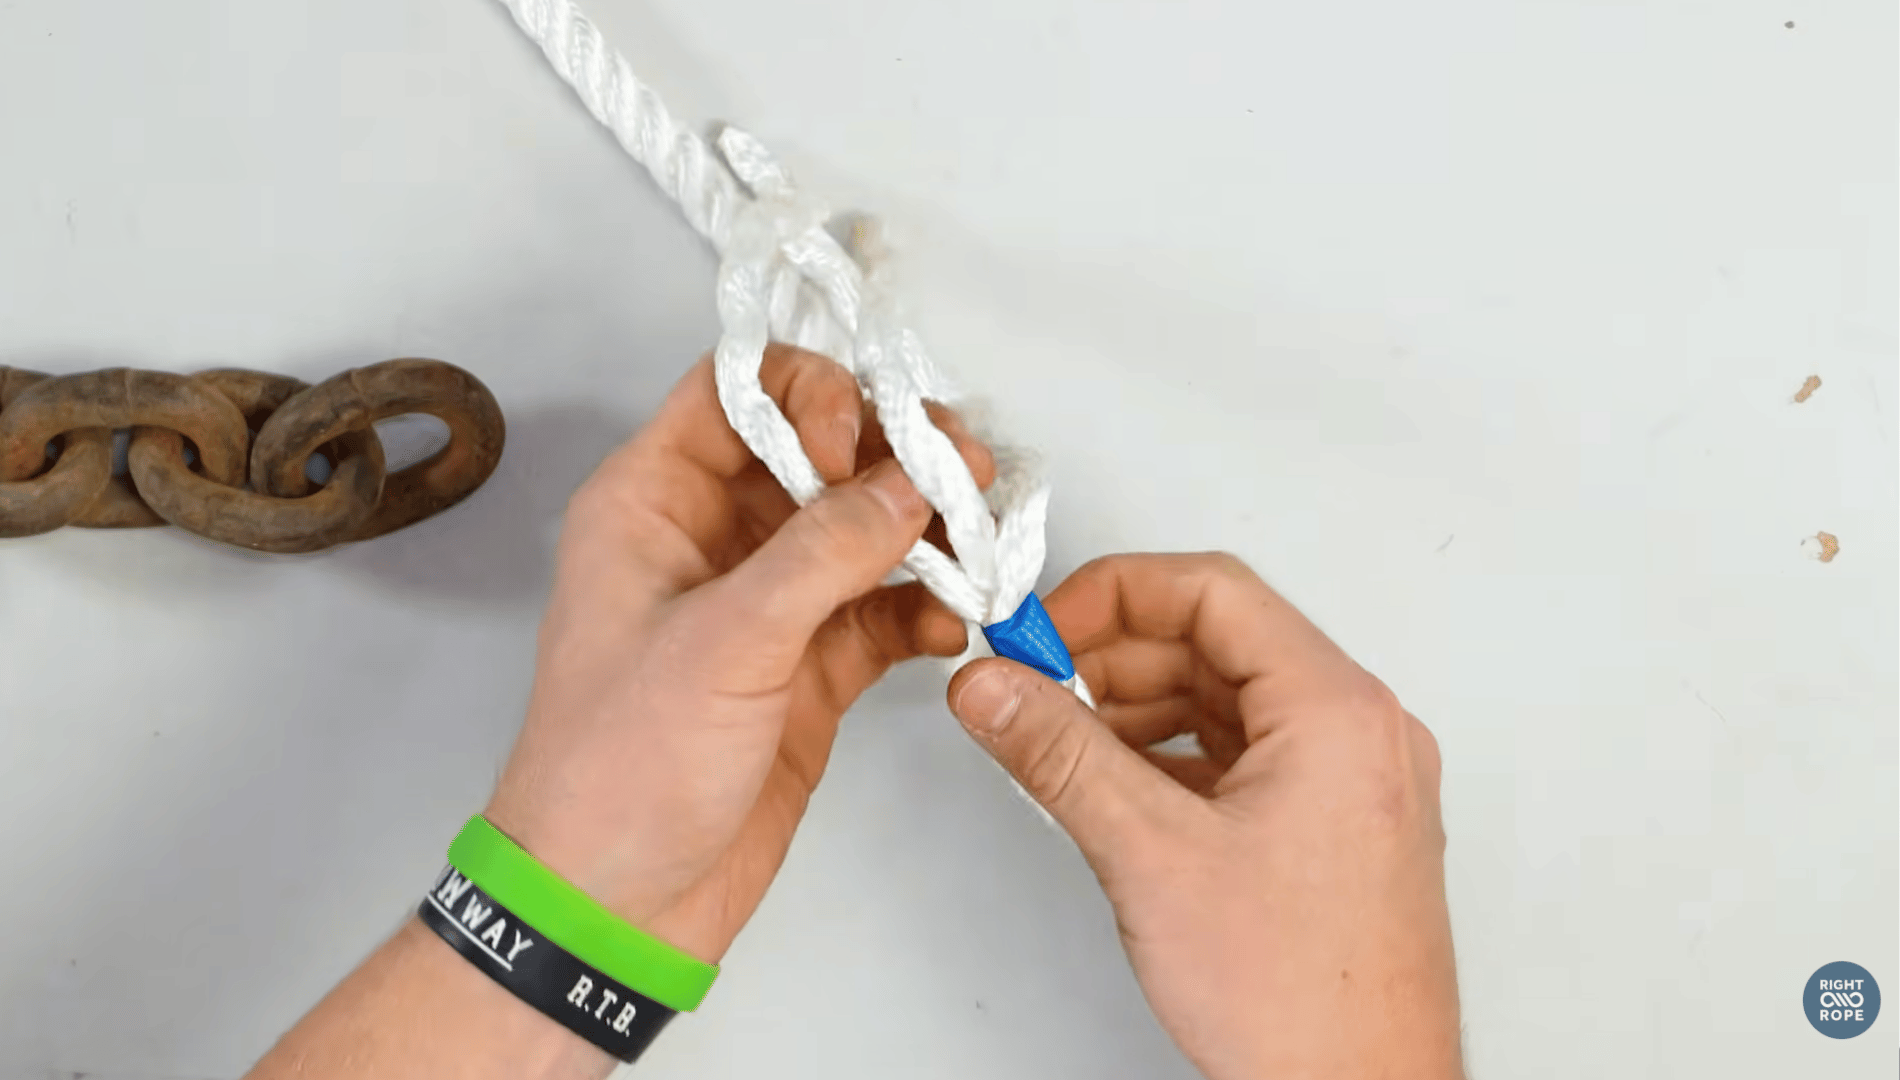
The first step is measuring the section that will be unraveled. Remove any tape from the very end of the rope and begin counting back 13 picks. A pick is simply the distance from one top strand of the rope to the next top strand as the rope twists.
Count carefully until you reach the thirteenth pick. Wrap a piece of tape around the rope with the top edge of the tape positioned directly on that thirteenth pick. This tape becomes your stopping point when you begin unraveling the rope.
Now remove the tape from the very end of the rope if it is still there. Carefully untwist the rope until you reach the tape. You should now have three individual strands extending from the standing part of the rope.
Leave the tape at the 13-pick mark in place for now. It helps keep the remaining rope from continuing to unravel while you position everything around the chain.
Position the Rope Around the Chain
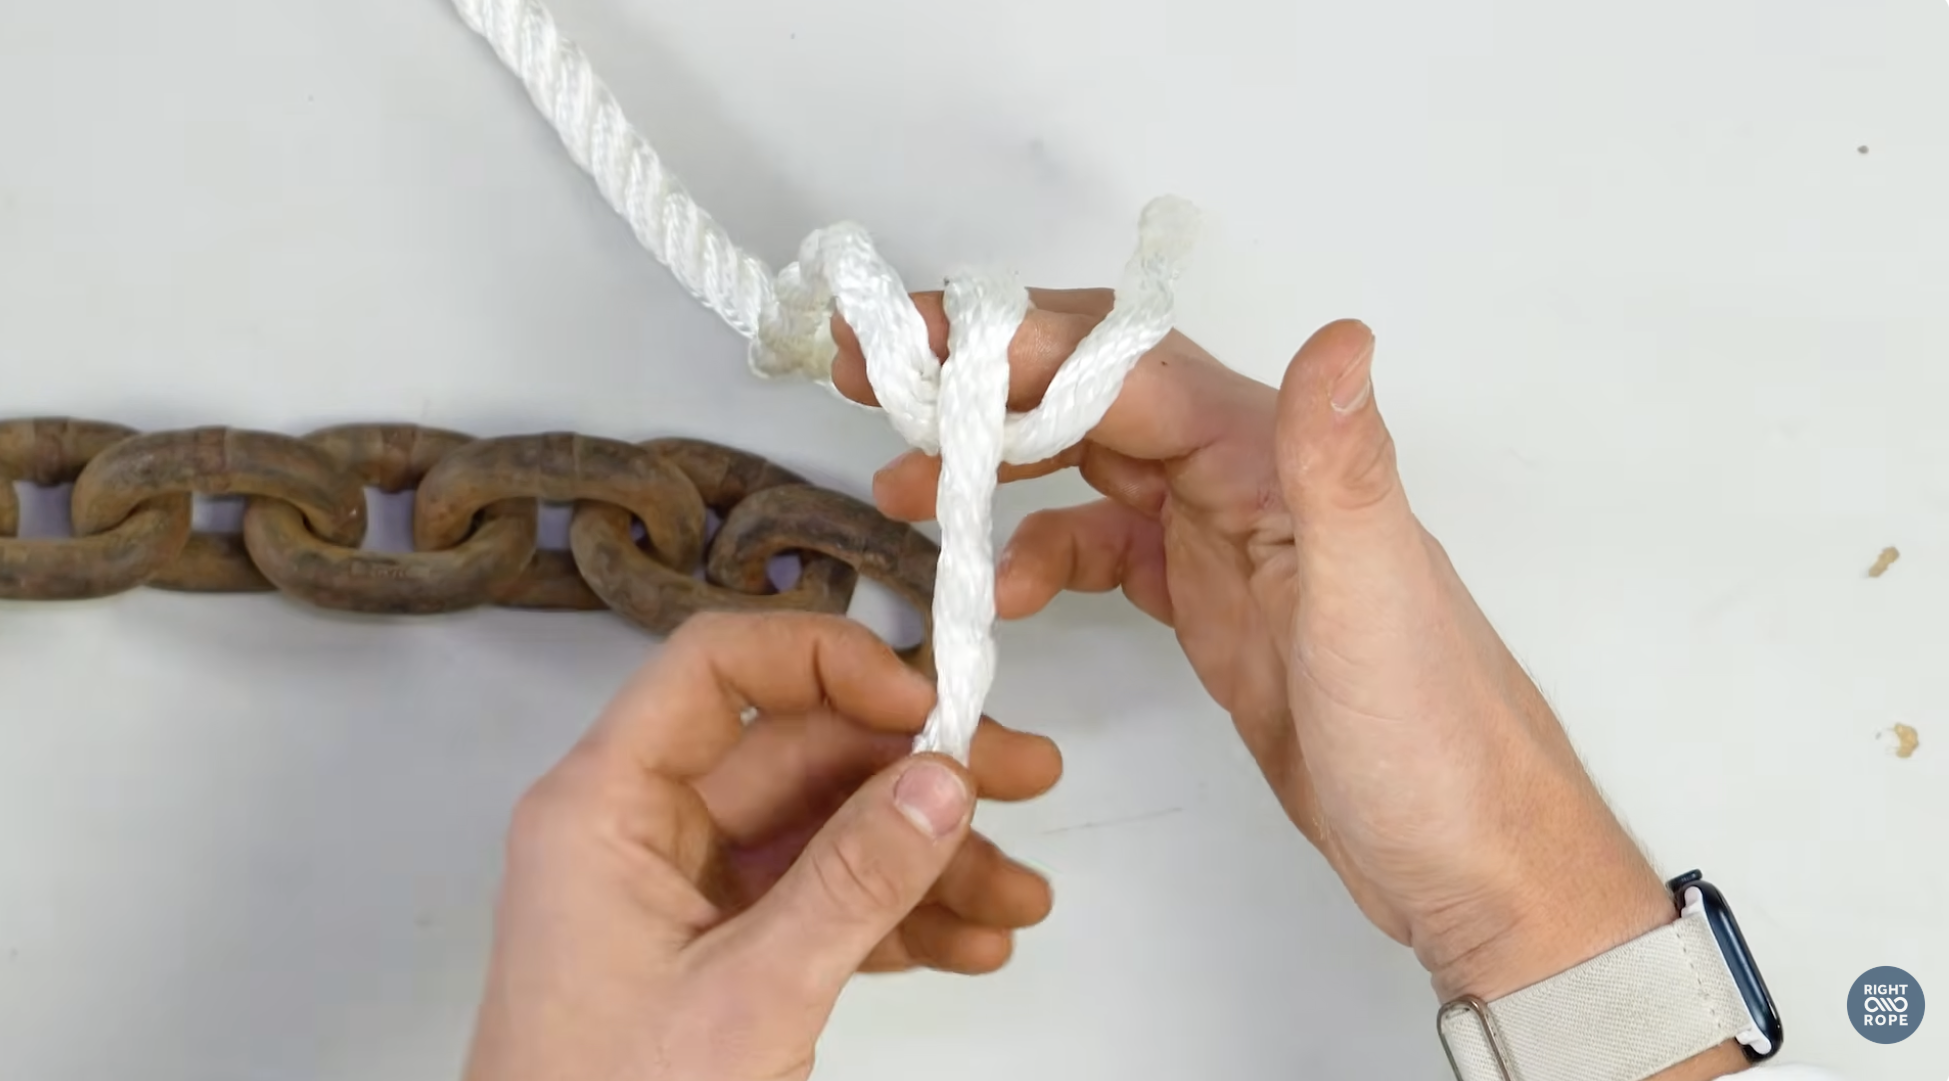
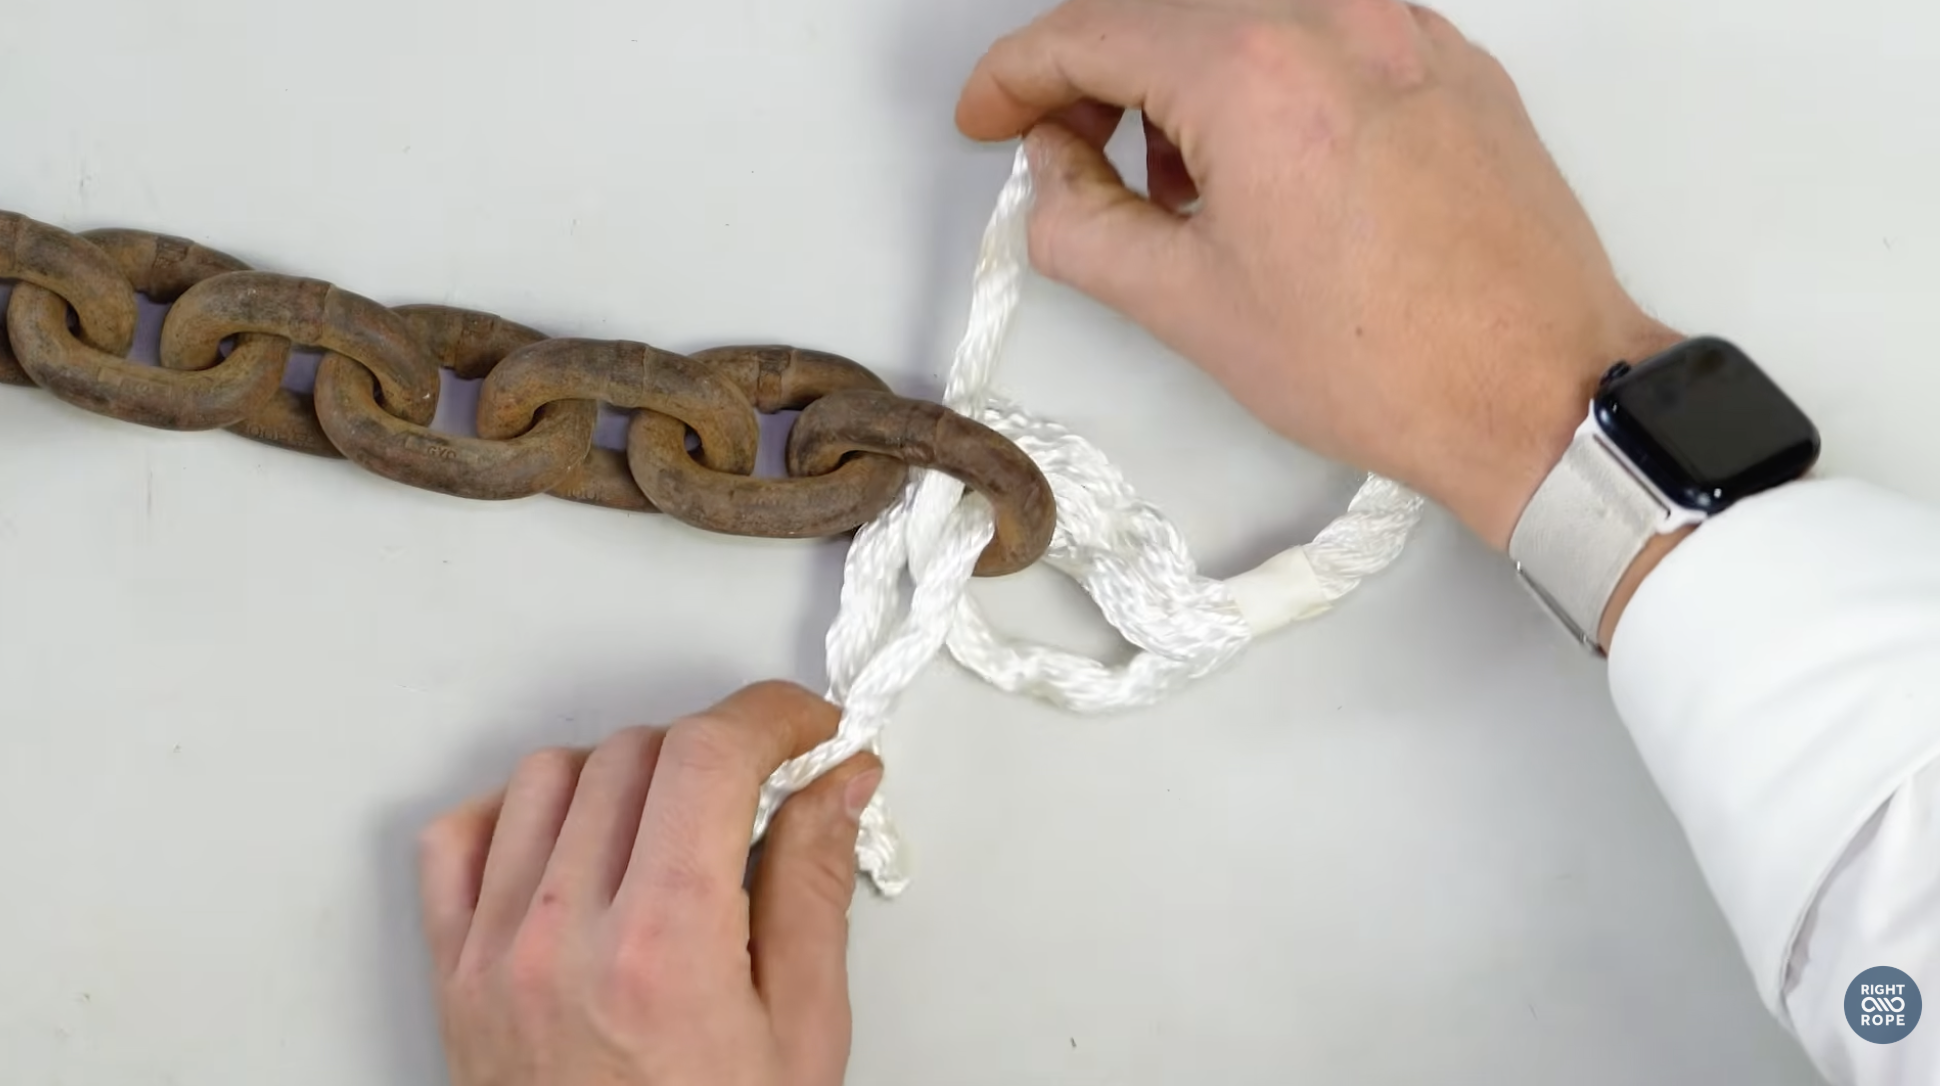
Next you’re going to form a triangle with the 3 strands looping through the chain, 2 strands coming from one side and the other strand in between the two from the other direction. This image below shows how it should work on a finger, then on the chain.
If the strands are crossed incorrectly now, the finished splice will never lay quite right, so make sure you get this right. Once you're happy with the layout, tighten the rope around the chain and remove the tape from the 13-pick mark.
Begin the First Set of Tucks
From this point forward, you're essentially making a traditional three-strand eye splice. Each strand is tucked back into the standing rope by going over one strand and under the next. Work one strand at a time.
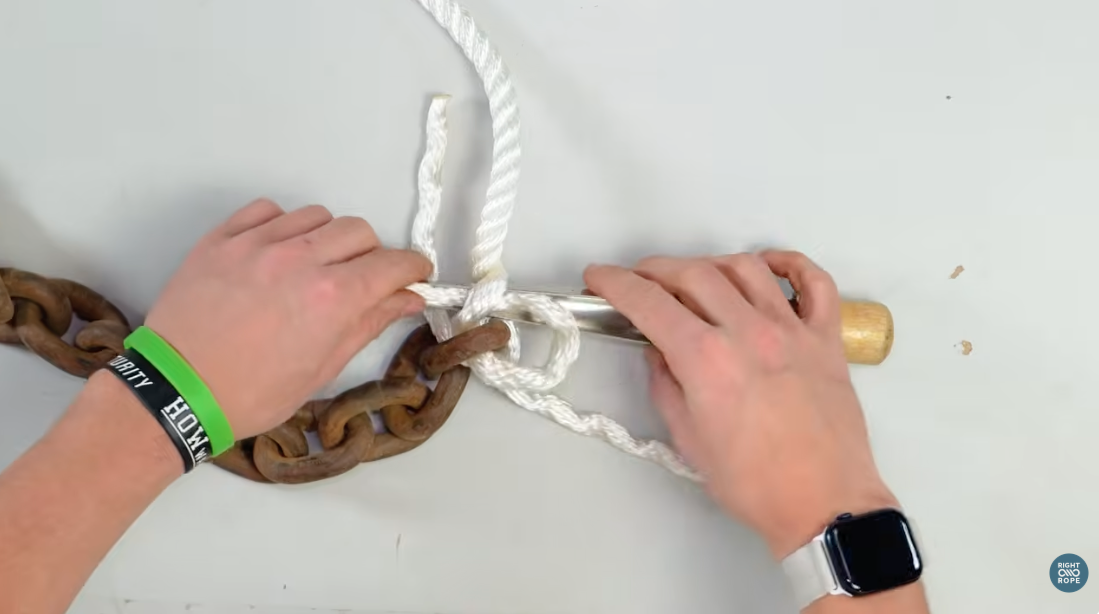
Use your fid to gently separate the rope so the strands slide through without damaging the braid. After completing the first full round of tucks, stop and pull each strand firmly.
This is an important step. Tightening the strands after the first round pulls the rope snugly against the chain and removes unnecessary slack from the eye. A loose splice around the chain will never tighten itself later.
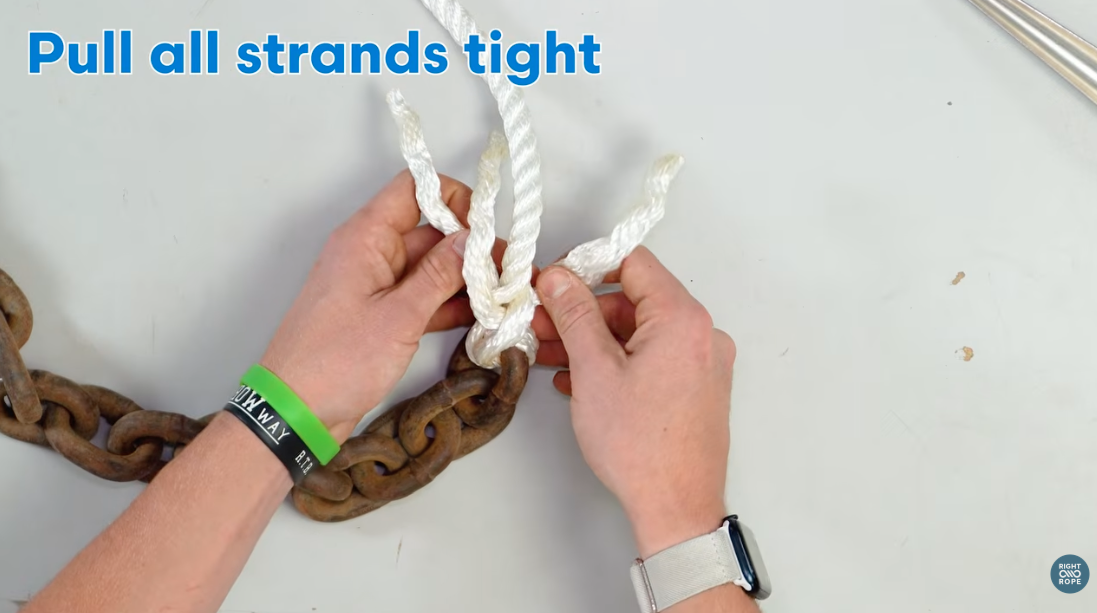
Finish Five Complete Sets of Tucks
Continue the next set of tucks exactly the same way. Each strand again goes over one strand and under the next.Work your way around the rope until you've completed the second full round.
Once again, stop and tighten every strand individually. You'll notice the splice continuing to seat itself tightly against the chain as each round is completed. Taking the time to snug each tuck now creates a cleaner finished splice later.
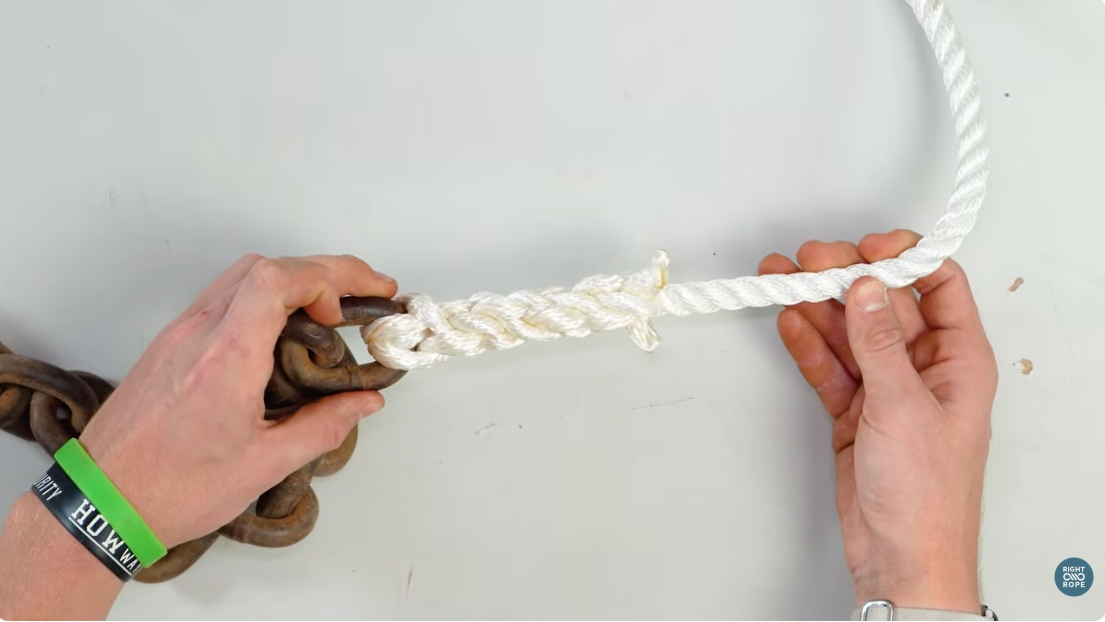
Once the second round is complete, simply continue the same pattern. Repeat the process until you've completed a total of five full sets of tucks. By the time you finish the fifth set, the strand ends should finish fairly close to the standing rope without leaving long tails sticking out.
If your measurements were correct in the beginning, everything should line up naturally. The finished splice should wrap tightly around the chain while maintaining a clean appearance.
Common Mistakes To Avoid
The biggest mistake beginners make is getting the rope oriented incorrectly before starting the tucks. If the strands are crossed around the chain or the rope is twisted, the finished splice won't sit properly against the chain.
Another common mistake is forgetting to tighten the splice after each completed round of tucks. It can be tempting to finish all five rounds before pulling everything tight, but that usually leaves small gaps around the chain that are much harder to remove later.
Finally, don't rush your measurements. Those original 13 picks determine how much material you'll have available for the splice. Starting with the proper amount of rope makes the finished splice look much cleaner.
Why Three Strand Nylon Is the Standard for Anchor Rodes
While this splice can be used on other three-strand ropes, nylon continues to be the most popular choice for anchor rodes for good reason.
Nylon offers excellent strength along with one characteristic that becomes especially valuable on the water.
Stretch.
When wind, waves, or boat traffic suddenly load the anchor rode, nylon stretches to absorb much of that energy instead of transferring every shock directly to the anchor, cleats, and deck hardware.
Combined with the abrasion resistance and weight provided by the chain, it creates an anchor system that has been trusted by boaters for decades.
RightRope.com carries premium three-strand nylon rope in a variety of diameters and lengths, making it easy to build the anchor rode that fits your boat and anchoring conditions.
If you'd rather skip the splicing altogether, we sell anchor lines with a steel thimble spliced in. That gives you a clean, dependable splice that you can attach to your anchor chain with an anchor shackle.
Can You Splice Rope To Chain Yourself?
Of course. In fact, if you've already learned a basic three-strand eye splice, you'll probably find this splice very approachable.
The biggest difference is simply how the rope is first positioned through the chain. Once that orientation is correct, the remainder of the splice follows the same over one, under one pattern used in other three-strand splices.
Take your time, keep the strands organized, tighten each completed round, and don't be afraid to practice on a short piece of rope before working on your actual anchor rode.
Like any splice, confidence comes with repetition.
Get Your Anchor Rode Ready To Go
A rope to chain splice is one of those traditional skills that continues to earn its place. It creates a permanent, compact connection that has been trusted on boats for generations, and once you've done one or two, the process becomes surprisingly straightforward.
Whether you're replacing an old anchor rode, building a new one from scratch, or simply learning another useful rope skill, understanding this splice is well worth the time.
In Part 4 of our Ultimate Guide to Splicing, we'll cover another classic three-strand technique: the back splice, a simple way to finish the end of a rope, prevent fraying, and give your rope a clean, traditional look.