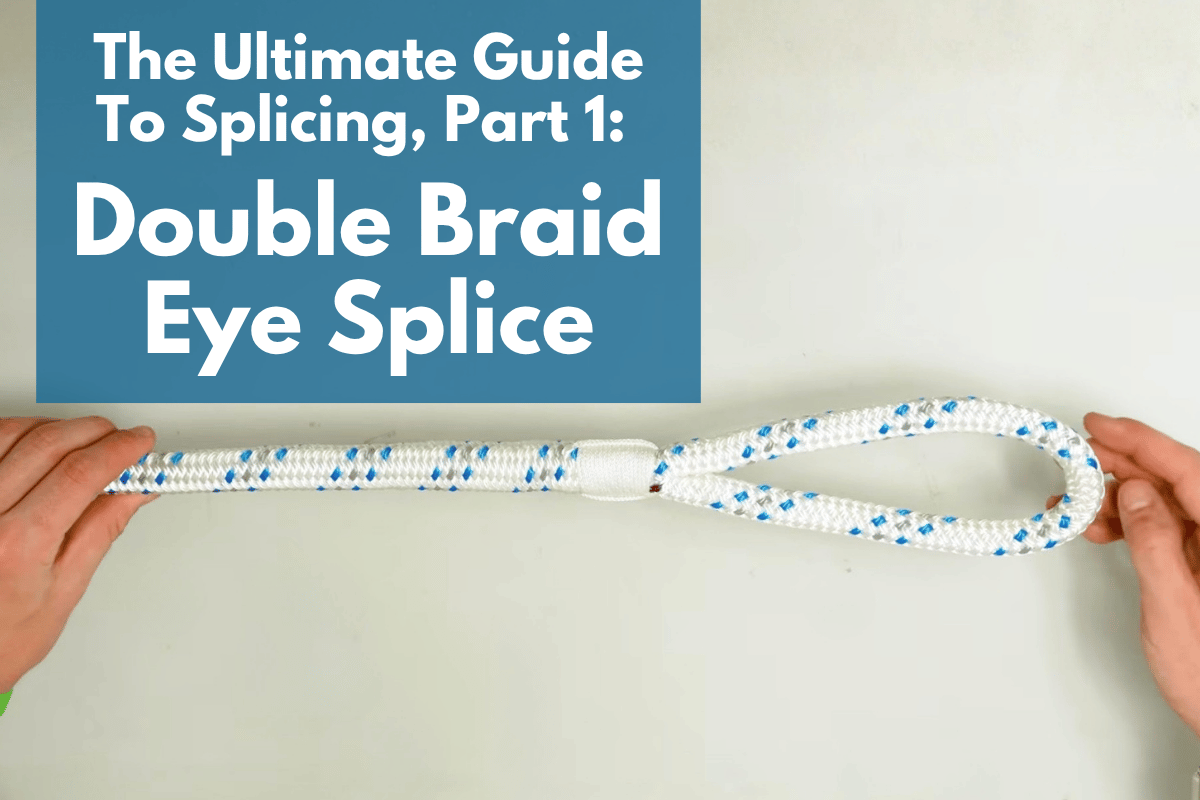
The Ultimate Guide To Splicing, Part 1: Double Braid Eye Splice
Estimated 0 min read
A good rope splice is stronger, cleaner, and more dependable than tying a bulky knot at the end of a line. It also looks like the work was done by somebody who knew what they were doing.
That does not mean rope splicing is only for professionals. With the right rope, a few basic tools, and some patience, most people can learn how to splice rope themselves. The trick is using the correct splice for the rope construction and the job.
In our 4-part rope splicing guide, we will cover four useful techniques: a double braid eye splice, a 12-strand locking Brummel eye splice, a three-strand rope-to-chain splice, and a three-strand back splice. These splices cover everything from dock lines and sailing lines to synthetic winch rope, anchor rodes, decorative rope, and general utility applications.
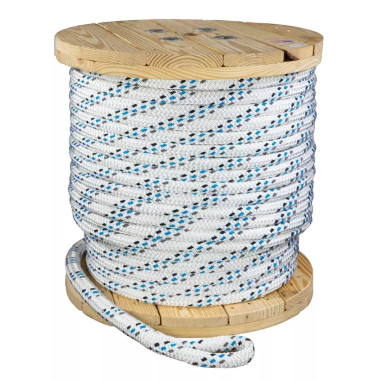
Every splice starts with selecting the right rope. RightRope.com carries polyester double braid rope, 12-strand HMPE rope, three-strand nylon rope, natural fiber rope, anchor line, dock line, and many other constructions that can be spliced for the right application.
If you would rather skip the fids, tape, measuring, tapering, and pulling, Right Rope can also splice nearly any rope you order. A professionally finished splice gives you a clean, easy, dependable connection that is ready to use when it arrives.
Why Splice Rope Instead of Tying a Knot?
Knots are useful, but they are not always the best permanent connection. A knot can become difficult to untie, catch on equipment, create an awkward lump, or reduce the working strength of the rope.
A properly made splice distributes the load through a longer section of rope. This creates a smoother transition and generally preserves more of the rope’s original strength than many common knots.
An eye splice gives you a permanent loop for connecting shackles, hooks, cleats, posts, or other equipment.
The correct method depends on how the rope is built. Double braid rope requires a different technique. Three-strand rope uses a series of tucks that would not work on braided rope.
Before beginning any splice, make sure the rope construction is designed to be spliced and that you are following instructions appropriate for that exact rope. Today’s splice is a double braid eye splice, and it will work on any double braid rope with a cover and core.
How To Make a Double Braid Eye Splice
Tools Needed For Your Double Braid Eye Splice:
- Double Braid Rope
- Permanent Marker
- Appropriate sized fid (usually length = 21 times the diameter of the rope)
- Electrical tape
- Scissors
- Lighter
- Whipping Twine
- Sewing Needle
Marking The Rope
A double braid eye splice is commonly used for dock lines, mooring lines, sailing sheets, halyards, utility lines, and other applications that need a strong permanent loop.
Double braid rope has a braided core surrounded by a separate braided cover. To make the splice, portions of the core and cover must be extracted, crossed, tapered, and buried back inside one another.
You will need an appropriately sized fid, measuring tape or fid markings, a permanent marker, tape, scissors, whipping twine, a sewing needle, and a lighter for synthetic rope.’
If you prefer to watch a video, you can follow along here:
Let's get started. Begin by moving roughly two wingspans (about 10 to 12 feet) up the rope and tying a loose overhand knot. This prevents the core and cover from slipping while you work. Attach your rope to a sturdy object on the other side of this knot. You will use this at the end of the process to work the core back into the rope, so make sure it’s something that can handle your full bodyweight.
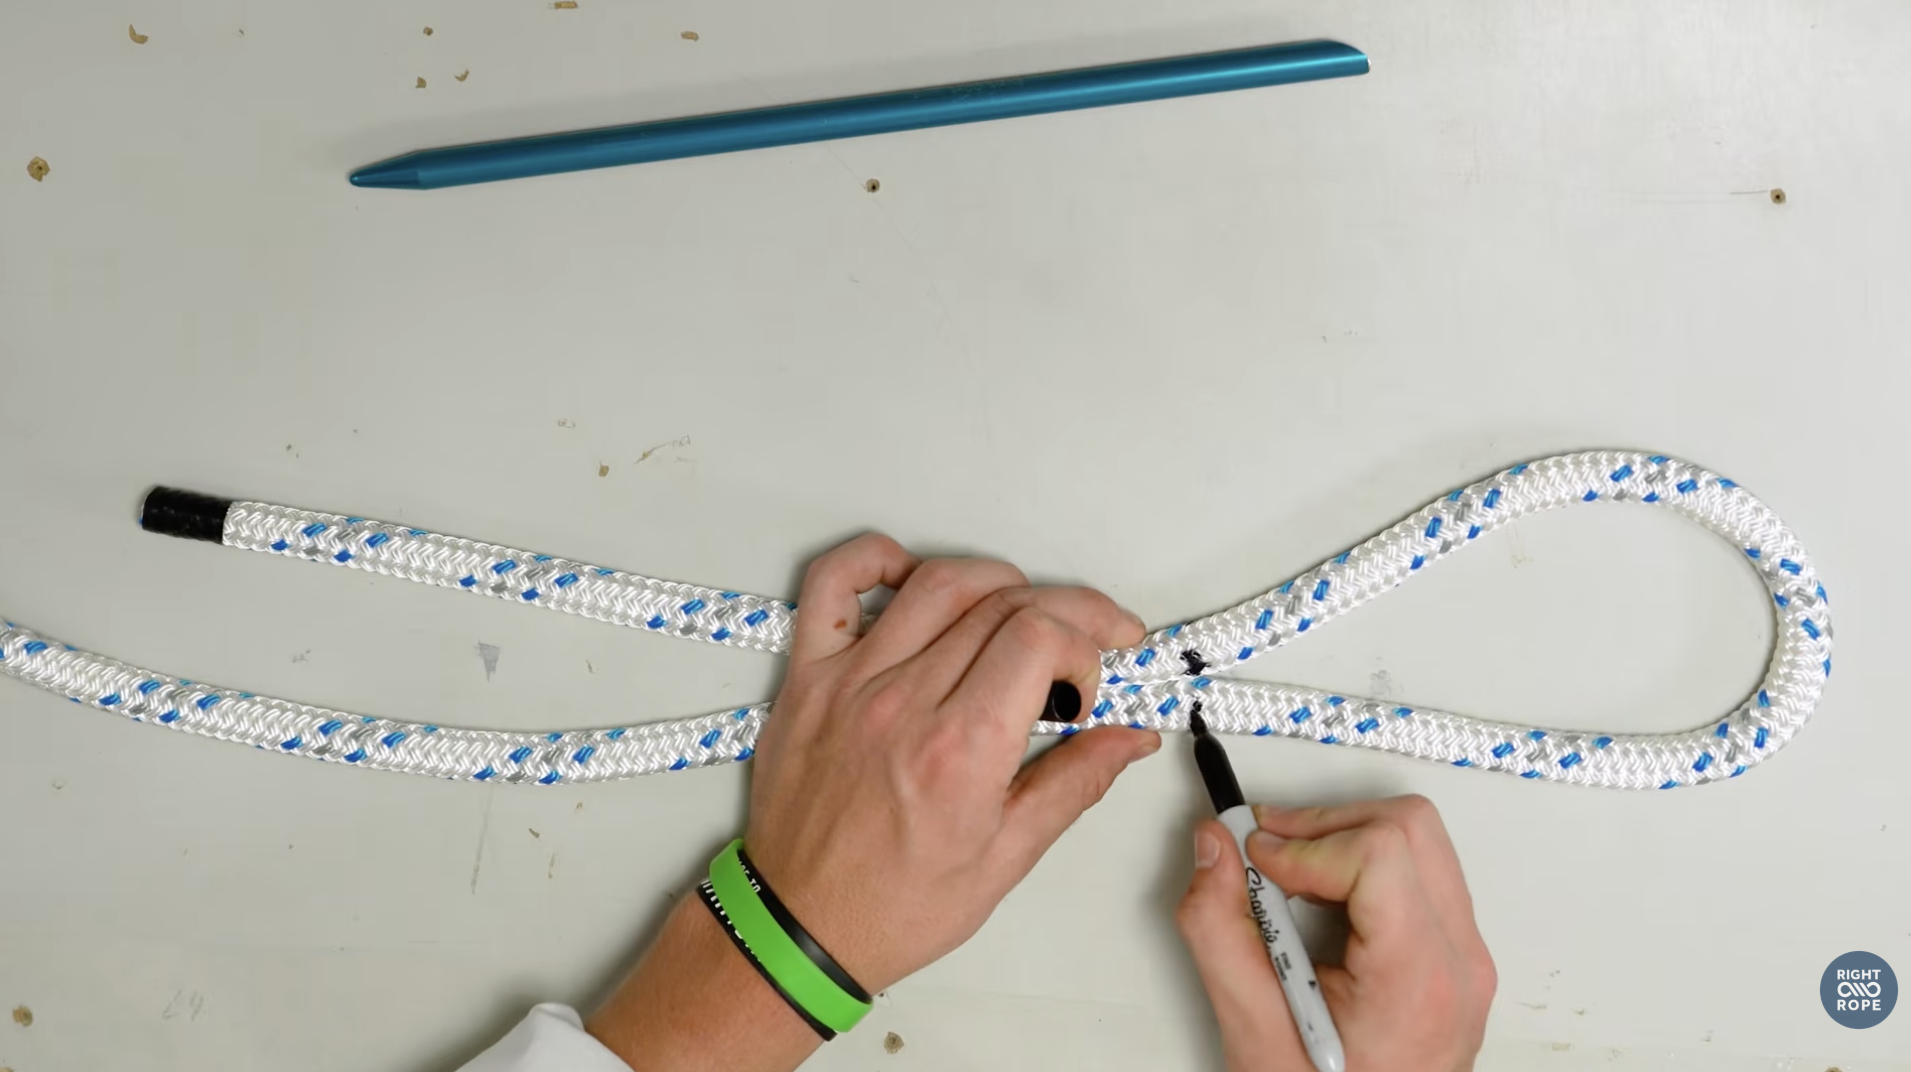
Arrange the rope and measure one fid length from the end. Mark this point as Mark A. Form the loop to the eye size you want and make Mark B opposite Mark A.
Extract The Core And Mark It
At Mark B, carefully open the cover and pull out the core. Remove the core from the cover all the way to the end of the rope. Tape the end of the core so it does not unravel.
Next, milk the cover toward Mark B. To milk a rope means pushing or sliding the outer braid along the rope so the material moves toward the area you are working on.
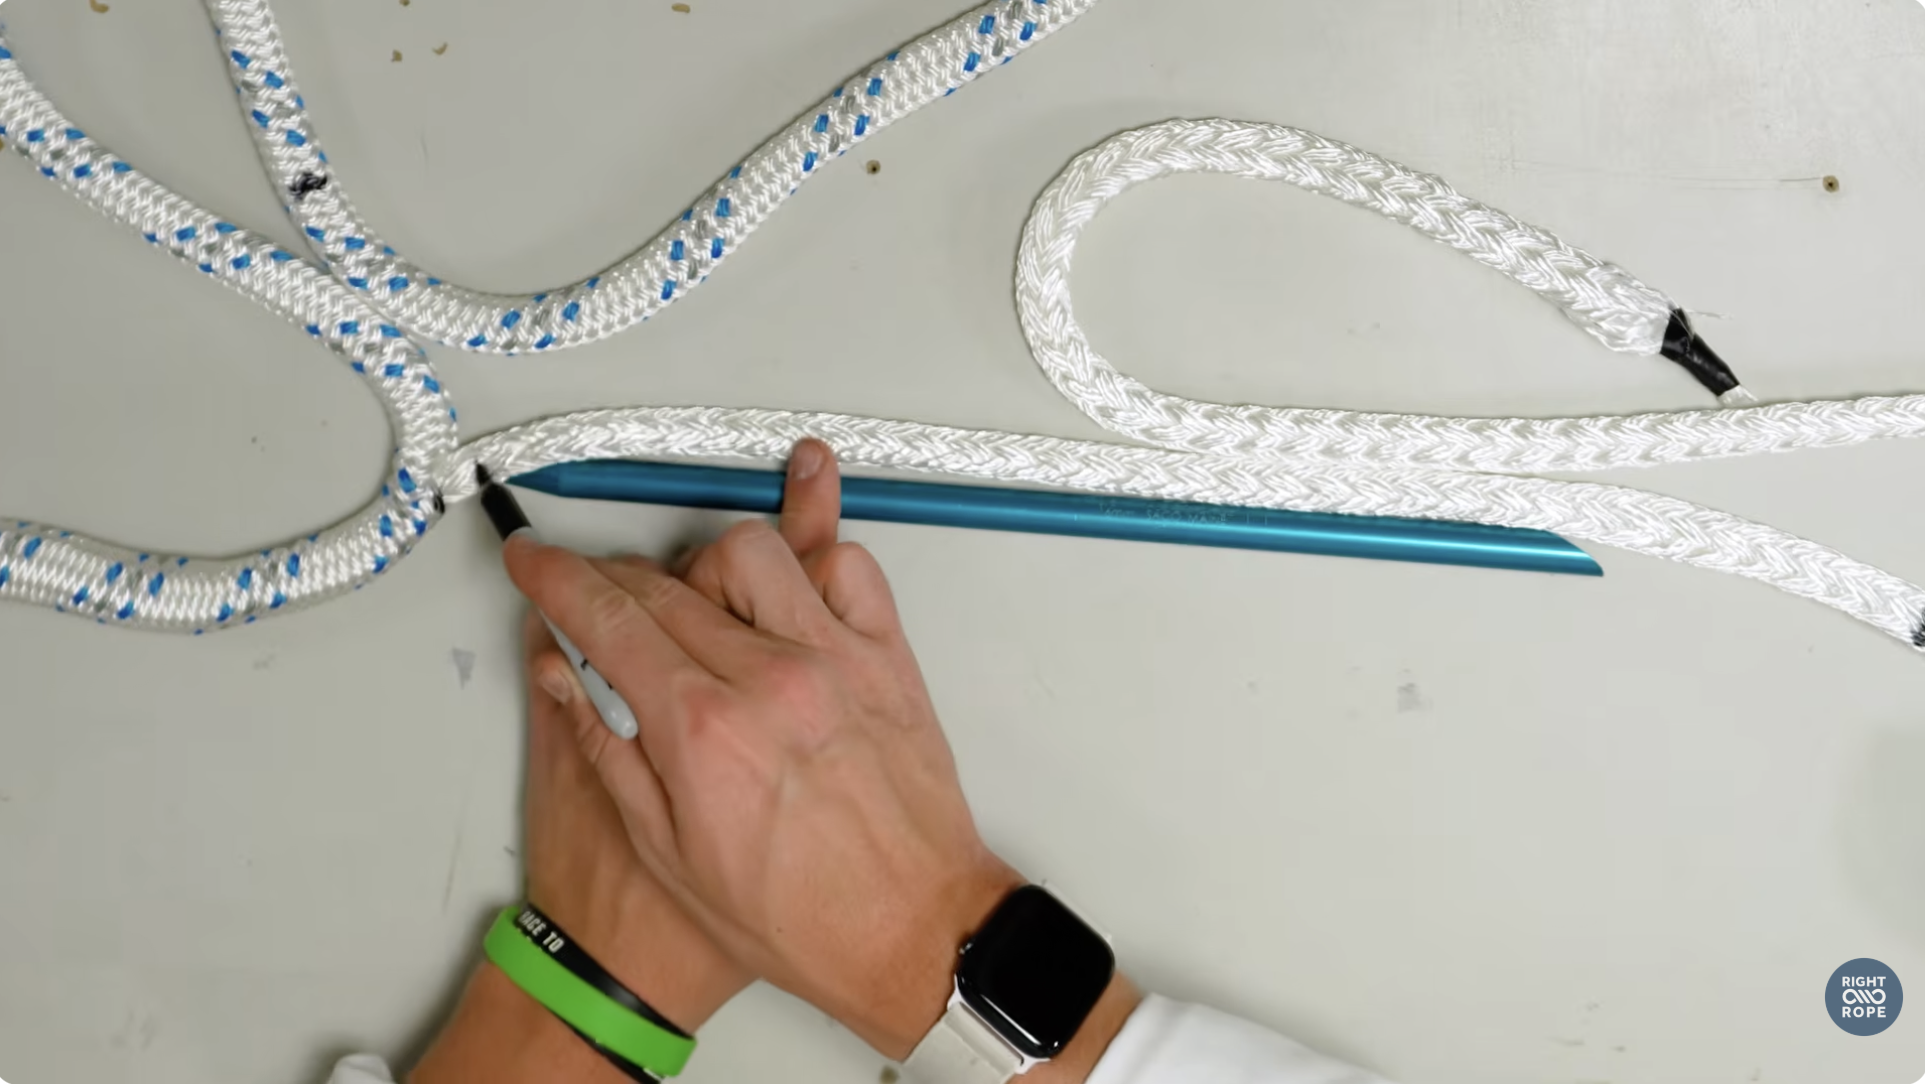
Mark the core where it exits the cover. Pull out some additional core and measure half a fid length to make Mark 2 (two dots). Measure 1 and ⅓ of a fid to make Mark 3 (three dots).
Insert The Cover Into The Core and Taper
Now insert the fid point first into the center of the core at Mark 2, securing the taped end of the cover into the back of the fid. Bring the fid out slightly past Mark 3 and pull the cover through.
Now taper the cover. Beginning about 8 pick pairs (a pair of opposite strands that form a V) beyond Mark A, pull a pick pair, cut it, and pull it out. Do this 2 more times for a total of 3, evenly spaced 3 pick pairs apart. A gradual taper is important because it prevents a sudden, bulky transition inside the finished splice.
Tie a temporary overhand knot in the tapered cover so it does not accidentally pull back through the core.
Insert The Core Into The Cover and Taper
The next step is inserting the core into the cover. Tape the core to the end of the fid so you do not lose the core inside the cover. Enter at Mark A and run the fid through the cover, coming out about one fid length past Mark B.
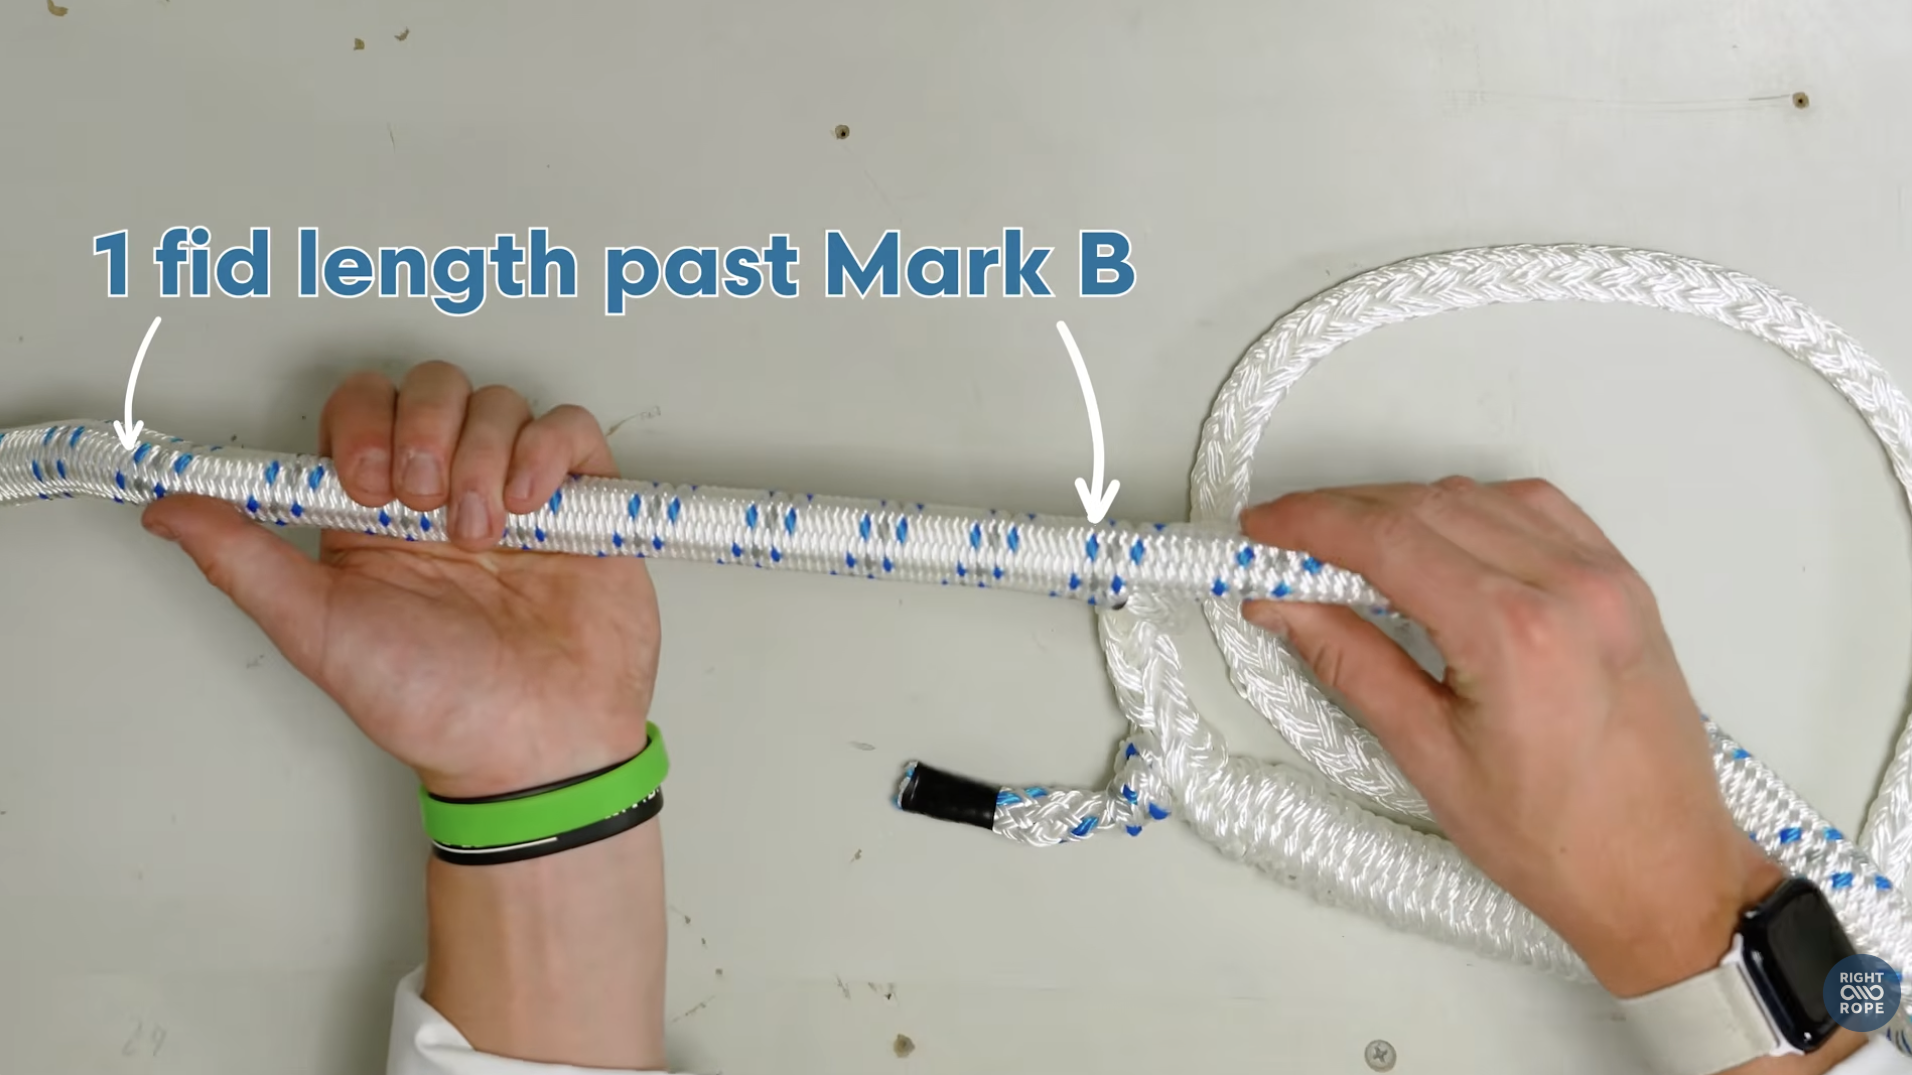
Pull the core through until the crossover sinks into place. The crossover is where the core and cover exchange positions. Pull firmly from both sides to make this area tight and even.
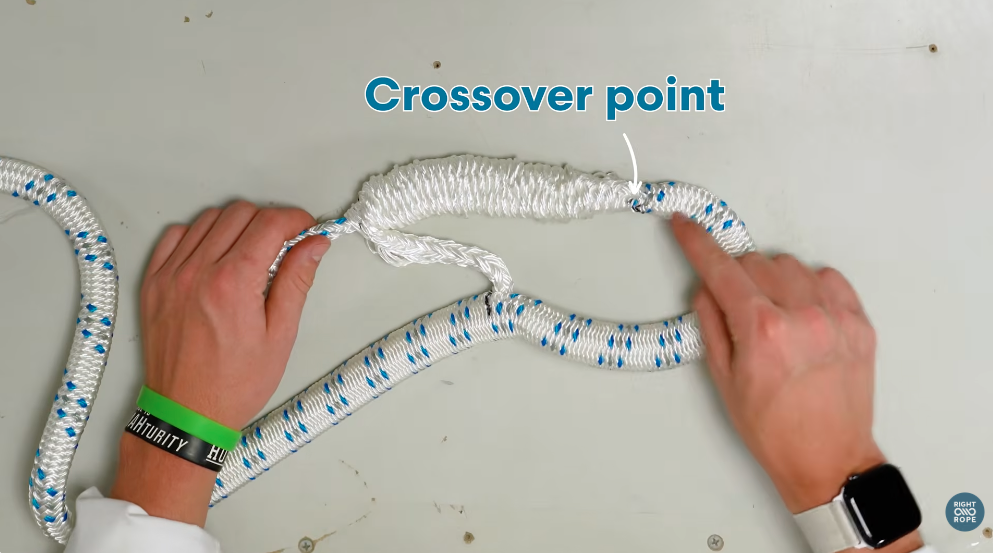
Remove the temporary knot and tape from the cover tail. Flare out the strands and cut them at a 45-degree angle to improve the taper. Milk the rope from the crossover until the cover tail disappears into the core.
Repeat a similar tapering process on the core. Milk the cover down the eye to the core tail, below the eye. Pinch the core where it exits the cover and pull it out a bit, cutting it just below the point you are pinching (closer to the cover). Flare the strands, and trim them at 45-degree angle.
Bury The Splice
Return to the crossover and milk the cover down the throat of the eye splice. The core should disappear into the cover of the rope.
If you haven't already, tie the other end of your rope to a sturdy beam or post. Lean your weight against the rope and rotate your hands to guide the exposed core into the cover. Milk the rope all the way down to the core if necessary and repeat until your core is completely covered.
Once the splice is fully buried, the eye should look smooth, firm, and symmetrical. The final step is whipping the throat with needle and thread. Whipping the throat adds a neat finish and helps keep the splice organized.
If you’d like to add a whipping, watch our double braid splice youtube video for instructions.
Start With the Right Rope and the Right Splice
So there you have it - a perfectly eye spliced double braid rope.
Take your time, measure carefully, keep the strands organized, and do not rush the taper. A splice may look confusing the first time, but the steps become much clearer once you see how the rope opens, crosses, and closes back around itself.
For critical lifting, life-safety, overhead, towing, or high-load applications, use professionally prepared splices and follow the rope manufacturer’s recommendations for the exact rope and hardware involved.
Right Rope can help you choose the proper rope diameter, construction, fiber, and splice for your project. We can also splice the rope you order so it arrives with a clean, dependable finished eye, chain connection, or rope end.
Shop RightRope.com for the right rope, the right splice, and straightforward help from people who work with rope every day.