
How To Build A Rope Swing Using A Classic Rope
Estimated 0 min read
The smell of fresh cut grass. The sun filtered through the leaves of the tree above you. Your feet push off the ground as you take to the air again and again. The swaying of the rope swing on a sturdy branch, the joy of the wind rushing past you, and the excitement of defying gravity like a warm hum in your belly.
Anyone who had a rope swing in their yard as a kid knows how many hours of bliss they can bring. We think every kid deserves to experience that timeless fun. That’s why today we’re going to teach you how to build a rope swing with a little help from an expert.

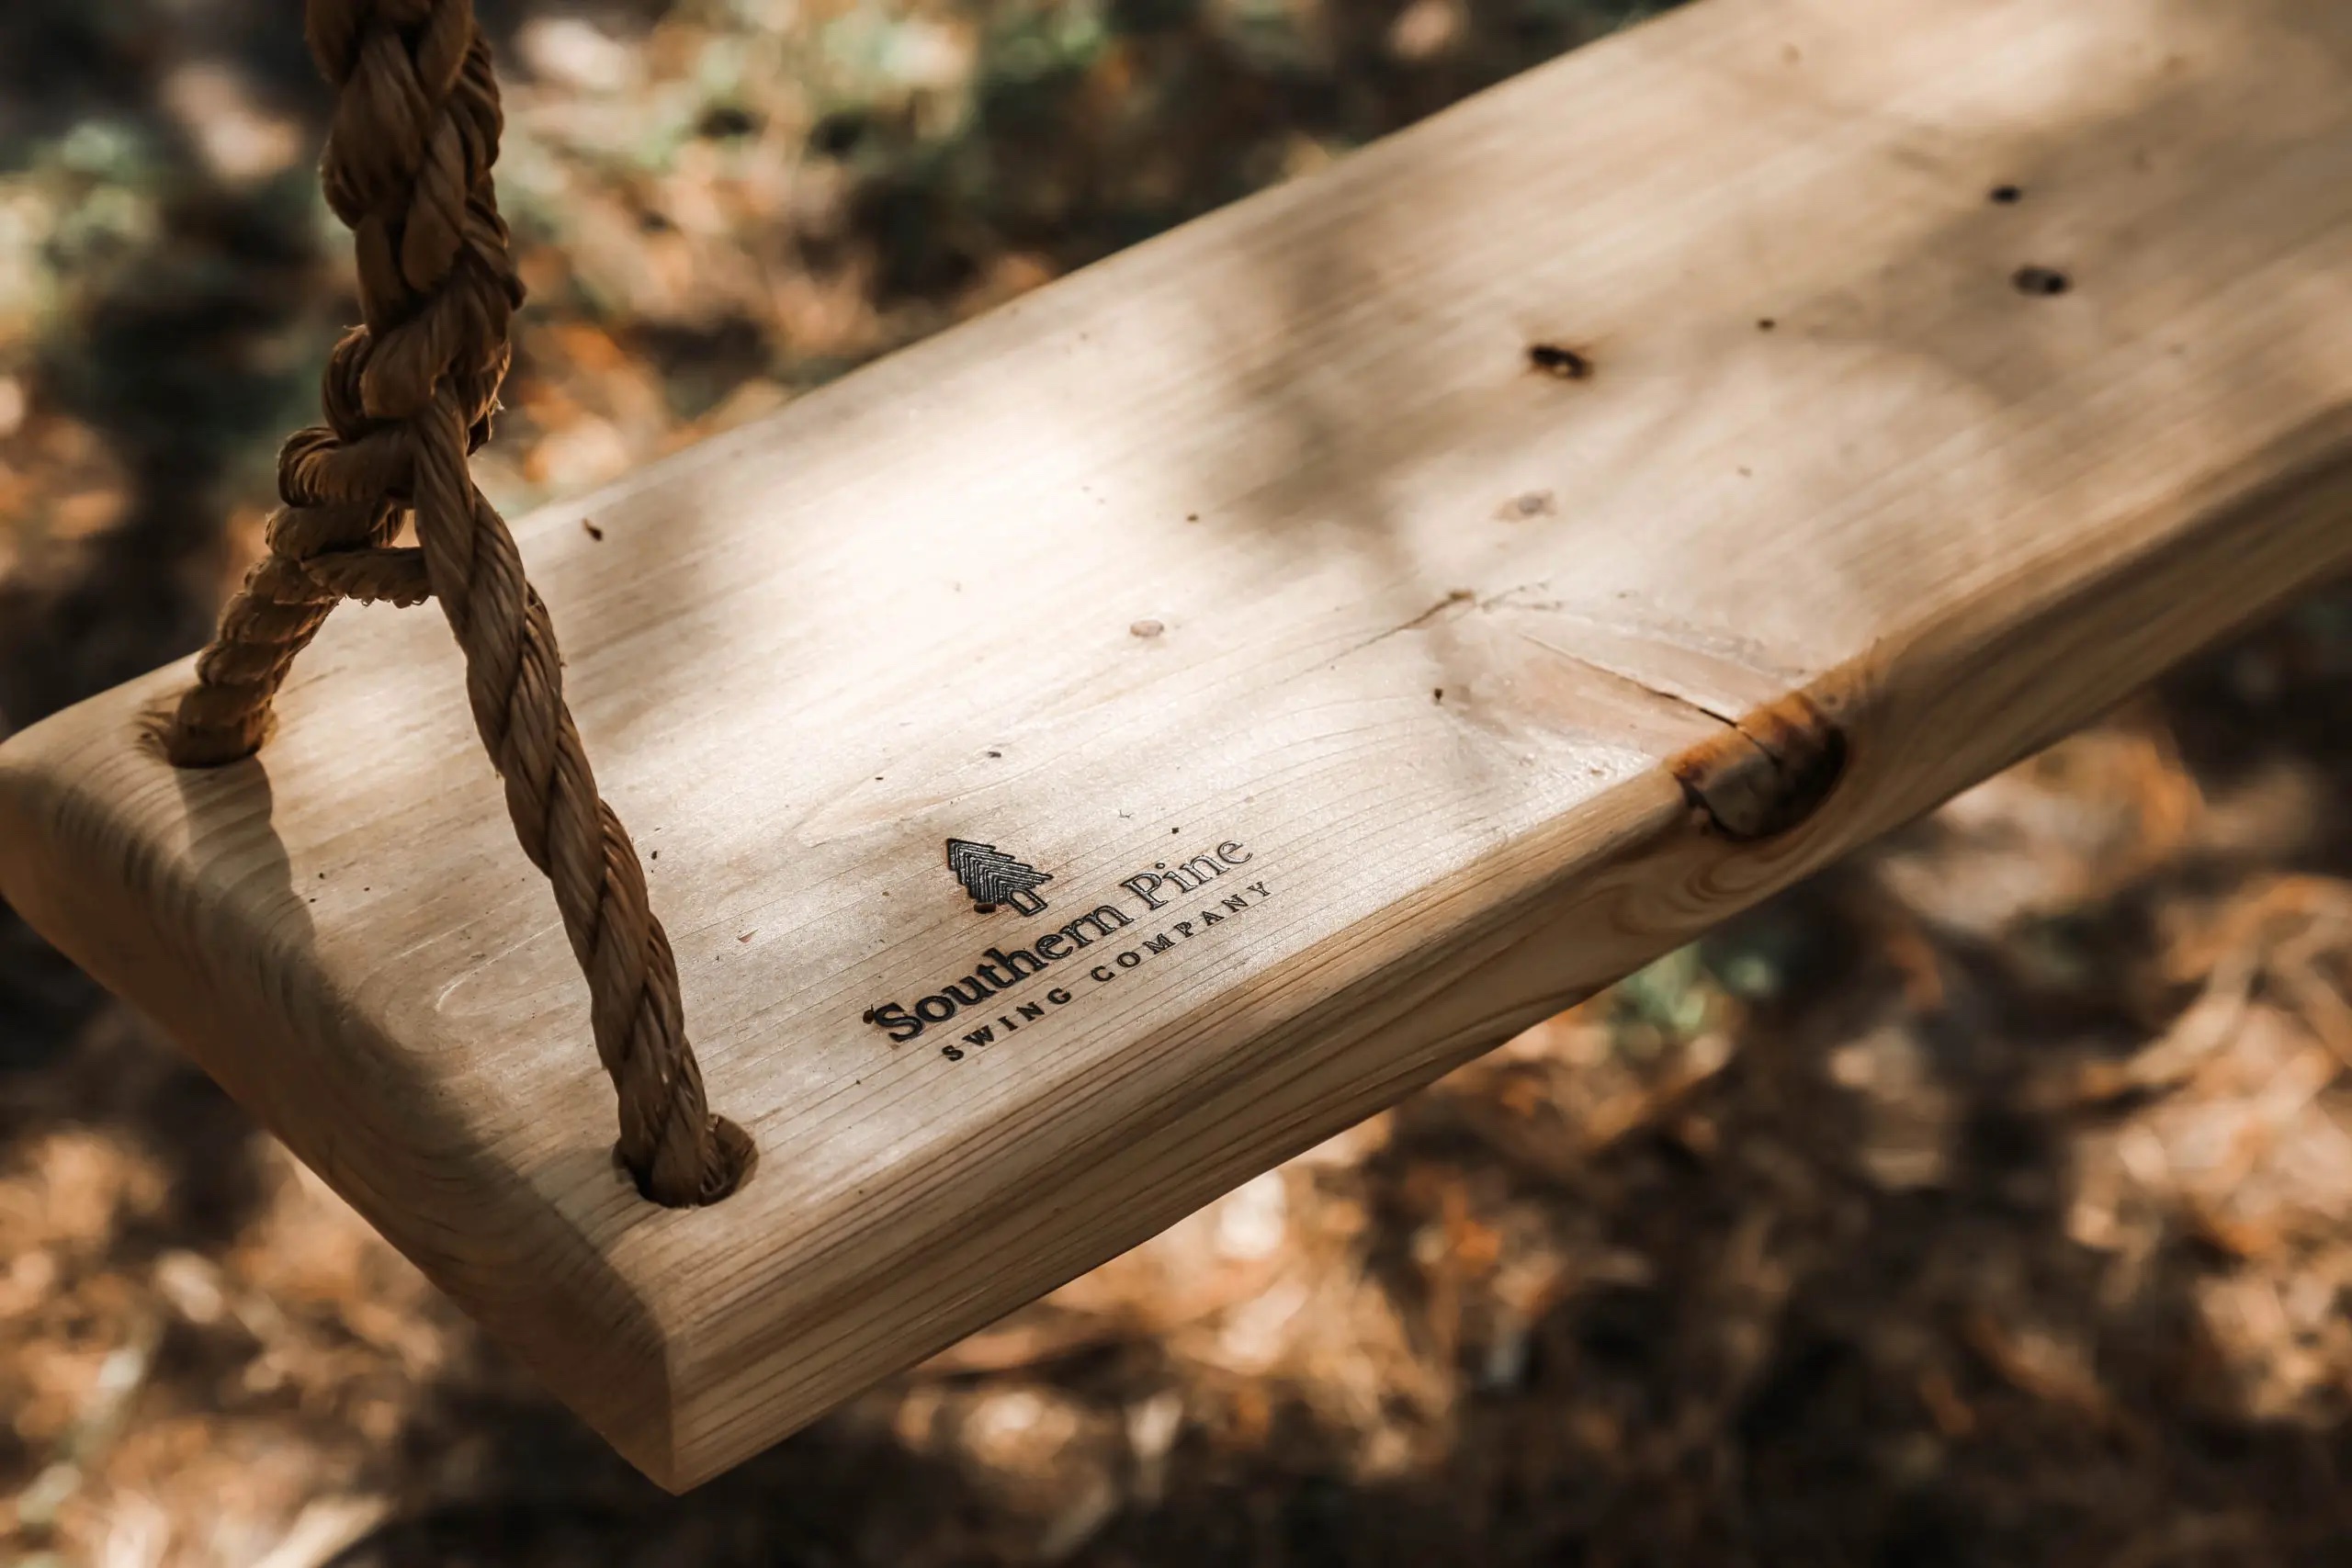
Southern Pine Swing Company
Zac West started Southern Pine Swing Company in 2020, looking to bring the joy of rope swings to more homes. He builds swings with pine or Georgia-grown cyprus, and offers a single or double-seater swing. His rope swings feature RightRope’s Promaila rope, and have been the subject of wedding photographs, instagram posts, and countless hours of happy swinging.
Our rope swing won’t be as pretty as the one’s Zac sells—to keep things simple we won’t be routing our surfaces or splicing our rope. Still, at the end of this quick project you’ll have a nice rope swing your whole family can enjoy for years to come.
Let’s get started building your dream swing!
First, you’ll need some supplies. To build a rope swing, you’ll need at least:
- 2 in. x 10 in. x 2 ft. Wooden board
- Two 20’-30’ pieces of ⅝” ProManila (Unmanila) Rope
- Saw
- Drill w 1-in spade bit
- Sander
How much rope do I need?
To figure out how much rope you’ll need, first, you need to know where you will hang your swing. You’ll want a branch at least 8” in diameter. Measure from the ground to the tree branch where you plan to hang your swing, then add 5 feet. You’ll need two pieces of rope approximately that length. Of course, it’s always better to err on the side of caution and order more rope than you need than find out that you didn’t get enough.
Building Your Rope Swing
Assuming you don’t just have a 2 in. x10 in. x 2 ft. board sitting around, you’ll probably have to cut one to size. You may want to cut two boards the same size and glue them together for extra durability (recommended if your kids are particularly rowdy), but it isn’t necessary.
Once you have your board, it’s time to drill holes for the rope to pass through. You’ll want to measure 1 ½” in from both sides of a corner and make a mark there, one in each corner once you’ve made your measurements go ahead and drill your holes.
Now it’s time to sand. Make sure to spend a lot of time on all the sharp edges of the board and a fair amount of time on the top and bottom. We don’t want any splinters while we’re swinging.
Hanging Your Rope Swing
Finally, all that’s left is attaching the swing to a tree branch. You will want to pick a branch at least 8 inches in diameter or bigger. You may have to cut your rope to size. If that’s necessary, make sure to tape and seal your rope to prevent fraying.
There are a couple of ways to do this. If you want to use Tree Swing Straps as Zac recommends, you can watch his video here to learn how he does it. This is probably a slightly more secure method than what is described below.
Alternatively, you use a bowline knot to attach to the branch. Either way, you go, you’ll also need to know how to tie a bowline knot when attaching the rope to the swing.
For the bowline method, tie a bowline knot, leaving the loop open but the knot secure. Make sure you leave plenty of tails at the end of the knot. Tie this tail in several half hitches (your standard knot) to secure it. Throw the rope's end with the bowline over the branch, then feed the rope up until you get the knot back. Then drop the other end of your rope through the bowline loop, and tighten it back up. You may want to wrap the rope around the branch several times. Test the knot to ensure it will hold by pulling on it, and putting as much of your body weight on as possible. Repeat this for the other rope.
Final Steps
You may want to set a chair out to place your swing seat on for this final part. This will keep your seat level and make tying knots easier.
Thread the rope through opposite corners of your swing. Run the rope down and across the swing to the opposite side, creating two parallel lines of rope running under your swing seat. Now on either side of your swing you’ll have a rope that runs up to the tree branch (the high rope), and a rope end from the opposite piece of rope. Now tie a bowline to connect these two ropes.
This is a little tricky, so we'll explain how. Start by making a loop on the high rope. Run the rope, end up through this loop, up and around the high rope and back down through the loop just like a typical bowline. Again, leave plenty of tail, and tie that off in successive half hitches above your tightened bowline. Repeat on the other side, making sure the swing is evenly hung.
Congrats! You’ve just built a classic-looking rope swing.
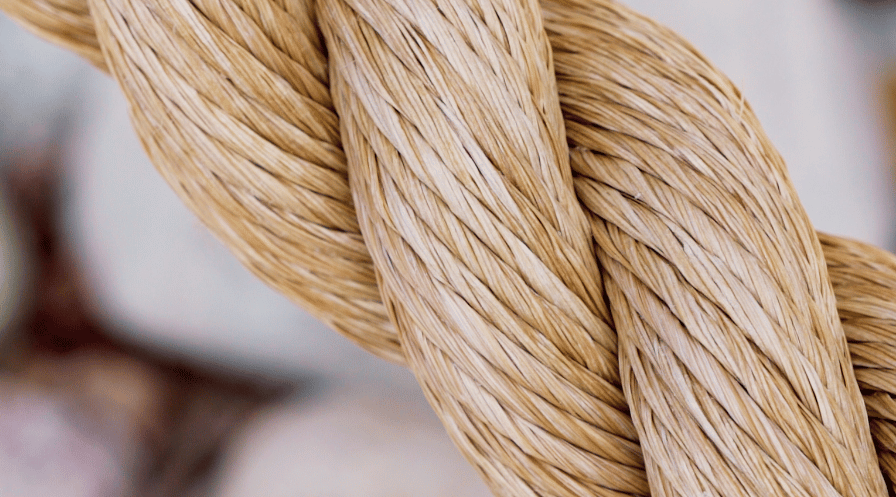
Why do we use Promanila rope for this Rope Swing?
A rope swing should be a source of endless fun for your family, not a source of injury or lawsuits. That’s why picking the right rope for the job is important. Promanila is the perfect rope for a rope swing. It’s a durable, weather-resistant rope with a beautiful classic appearance. Unlike Manila, it won’t shed, rot, splinter, or injure little hands.
That being said, check your rope swing before every use for any signs of damage. Depending on weather exposure and use your Promanila rope should last a minimum of 3 years, but it’s better to be safe than sorry—especially when it comes to the safety of your children.
Disclaimer
This blog is for informational purposes only. RightRope.com assumes no responsibility for the accuracy or completeness of any information presented here and assumes no liability for damages, losses, or injury sustained during the building, maintenance, or usage of this or any project.


