
How to Build a Rope Railing in 6 Easy Steps
Estimated 0 min read
Introduction
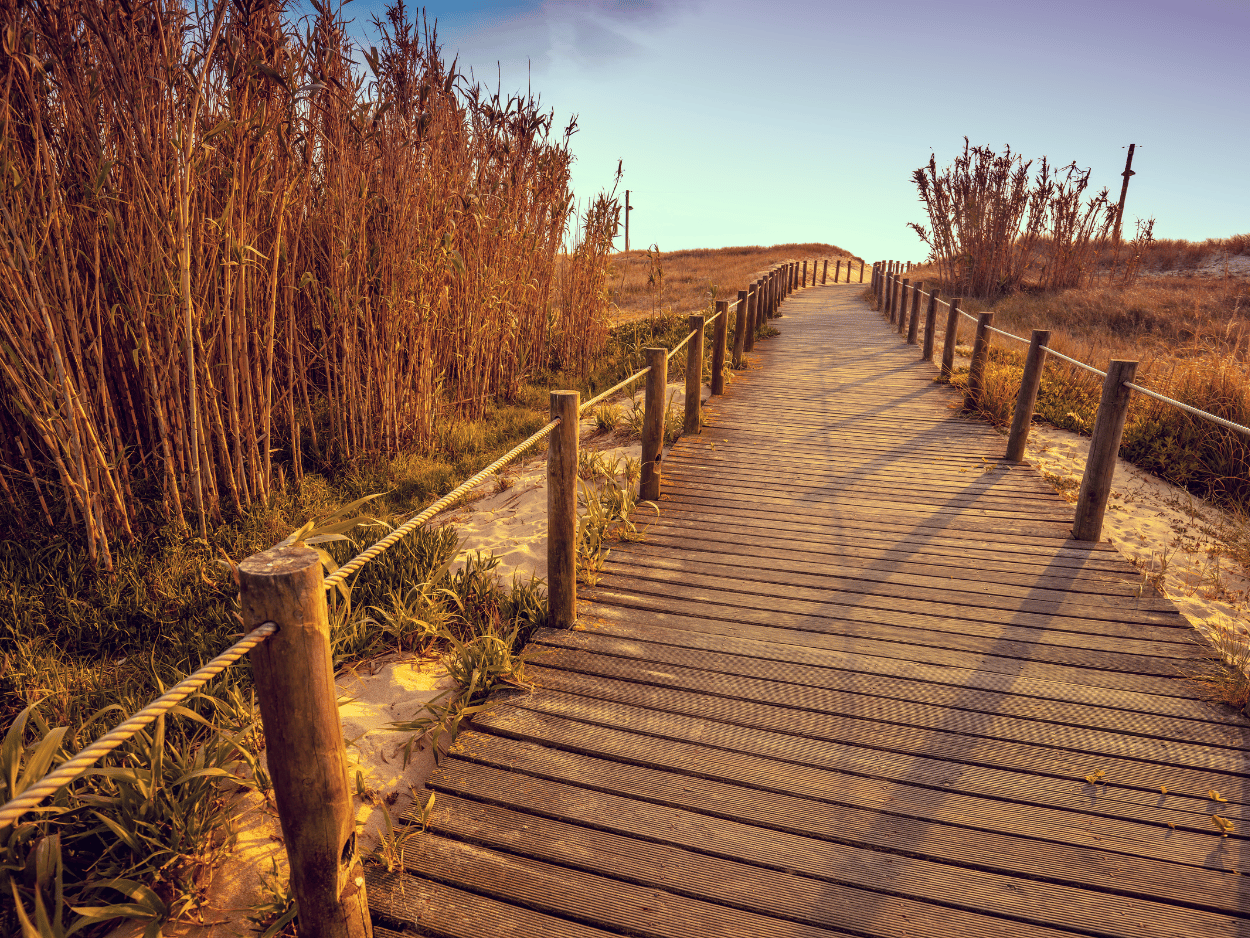
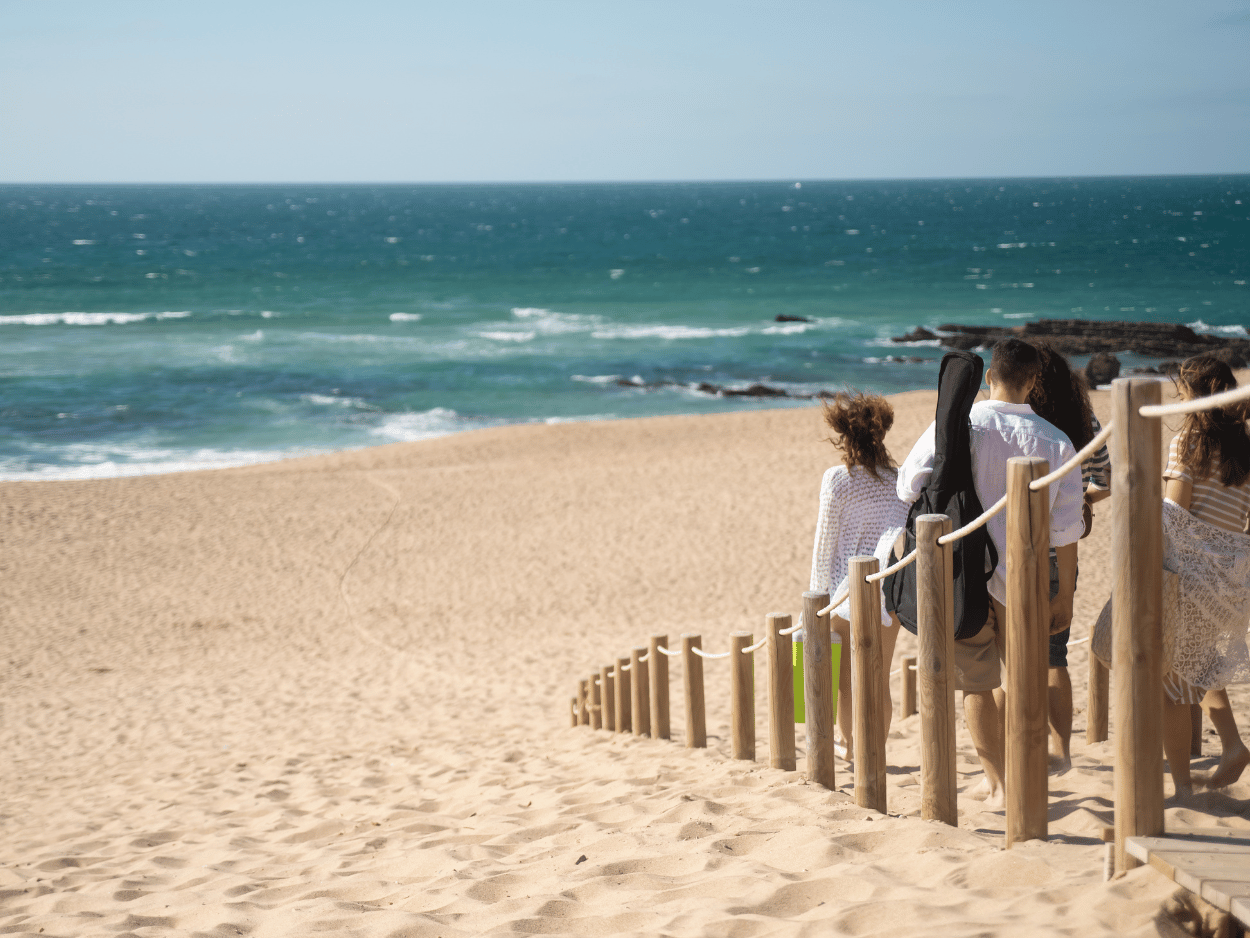
Building a rope railing is a beautiful way to add a classic nautical theme to your outdoor landscaping. You can find rope handrails near beaches, and waterfronts, along with decks and docks, as a stair railing, or landscaping around a home.
In this article, we’ll teach you how to easily build your very own rope railing. We’ll include what materials, and tools, you’ll need as well as pro tips to make sure your project comes out beautifully. We also recommend checking out our in-depth YouTube videos, where we cover everything you need to know.
Planning Your Rope Railing Project
Step 1) Choosing the Right Rope
The first thing to consider when planning for your rope railing project is to decide what kind of rope to use. If you want to go with a nautical theme, we recommend our promanila rope (aka Unmanila rope) hands down. In some cases, you'll see the use of natural fiber manila rope, but we recommend against using any natural fiber ropes. This is because natural fiber ropes deteriorate quickly outdoors, resulting in a shorter lifespan. Below is a table comparing our four recommended types of Ropes, and their average life span. Note that these are estimations and will vary depending on your environment.
| Type of Rope: | Average Life Span: |
| Manila (Natural) | 5-10 years |
| Promanila/Unmanila (Synthetic) | 10-15 years |
| Nylon | 15-20 years |
| Polyester | 25-30 years |
Table: A rough comparison of rope types and their lifespans.
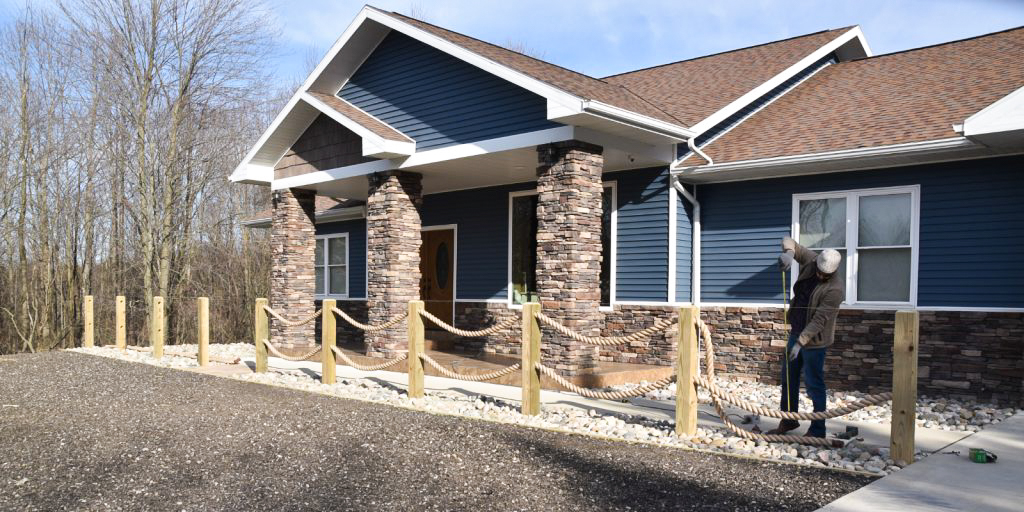
Photo: Phil, Rope Expert at Right Rope, measuring rope railing.
Step 2) Choosing your mounting technique/design
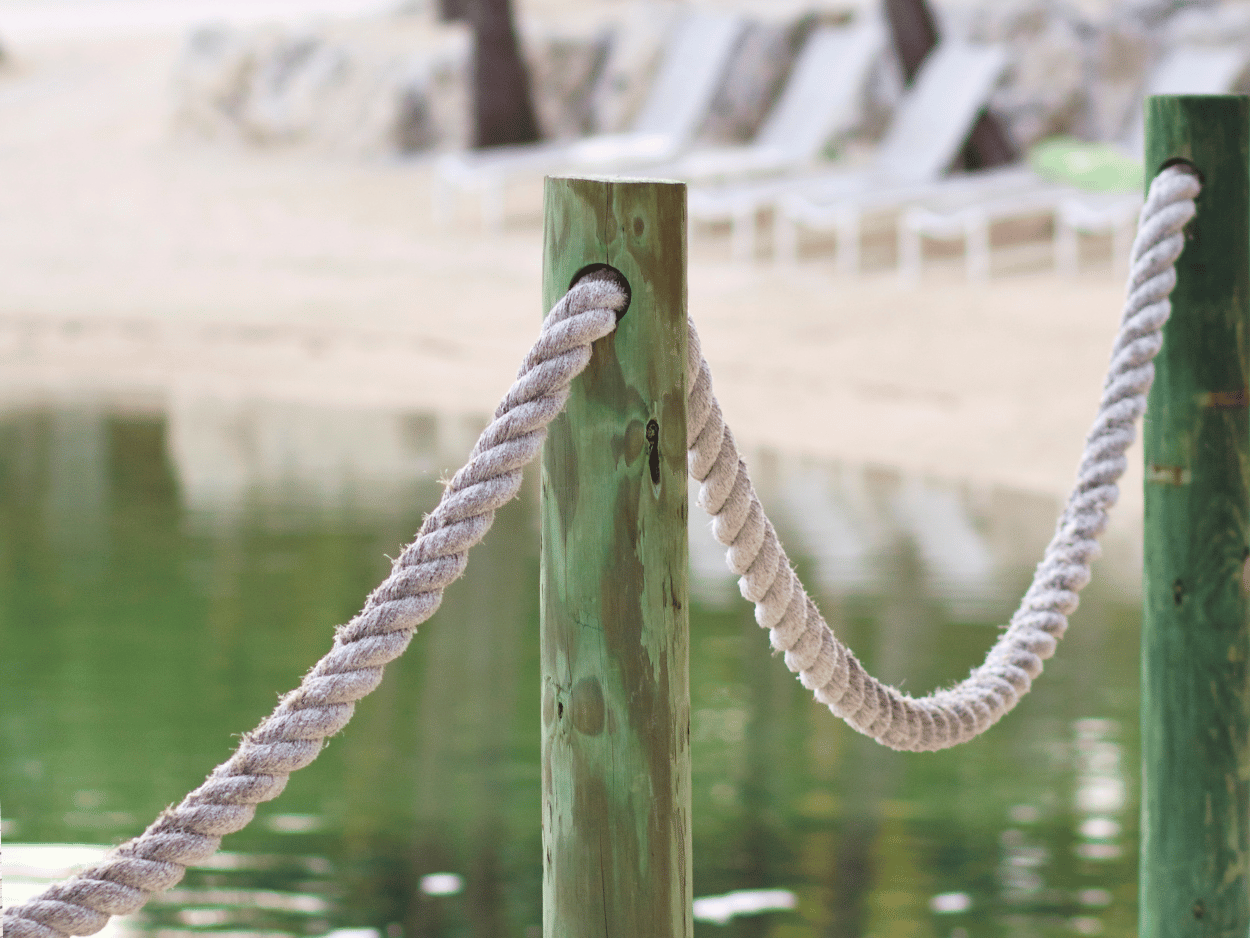
Rope railings come in many varieties, from traditional round posts, and wrapped ties, to more modern square posts with cut-out pass through holes. This is your opportunity to pick a design and mounting technique that works for your aesthetic, budget, and toolkit. There isn't a "best" style here, but here at Right Rope, we recently built a rope railing, with square posts, and cut-out pass through holes, and loved the results.
It is important to know that depending on your mounting technique the amount of rope you’ll need will vary. Wrapping the rope around each railing, for example, will increase your rope’s required length.
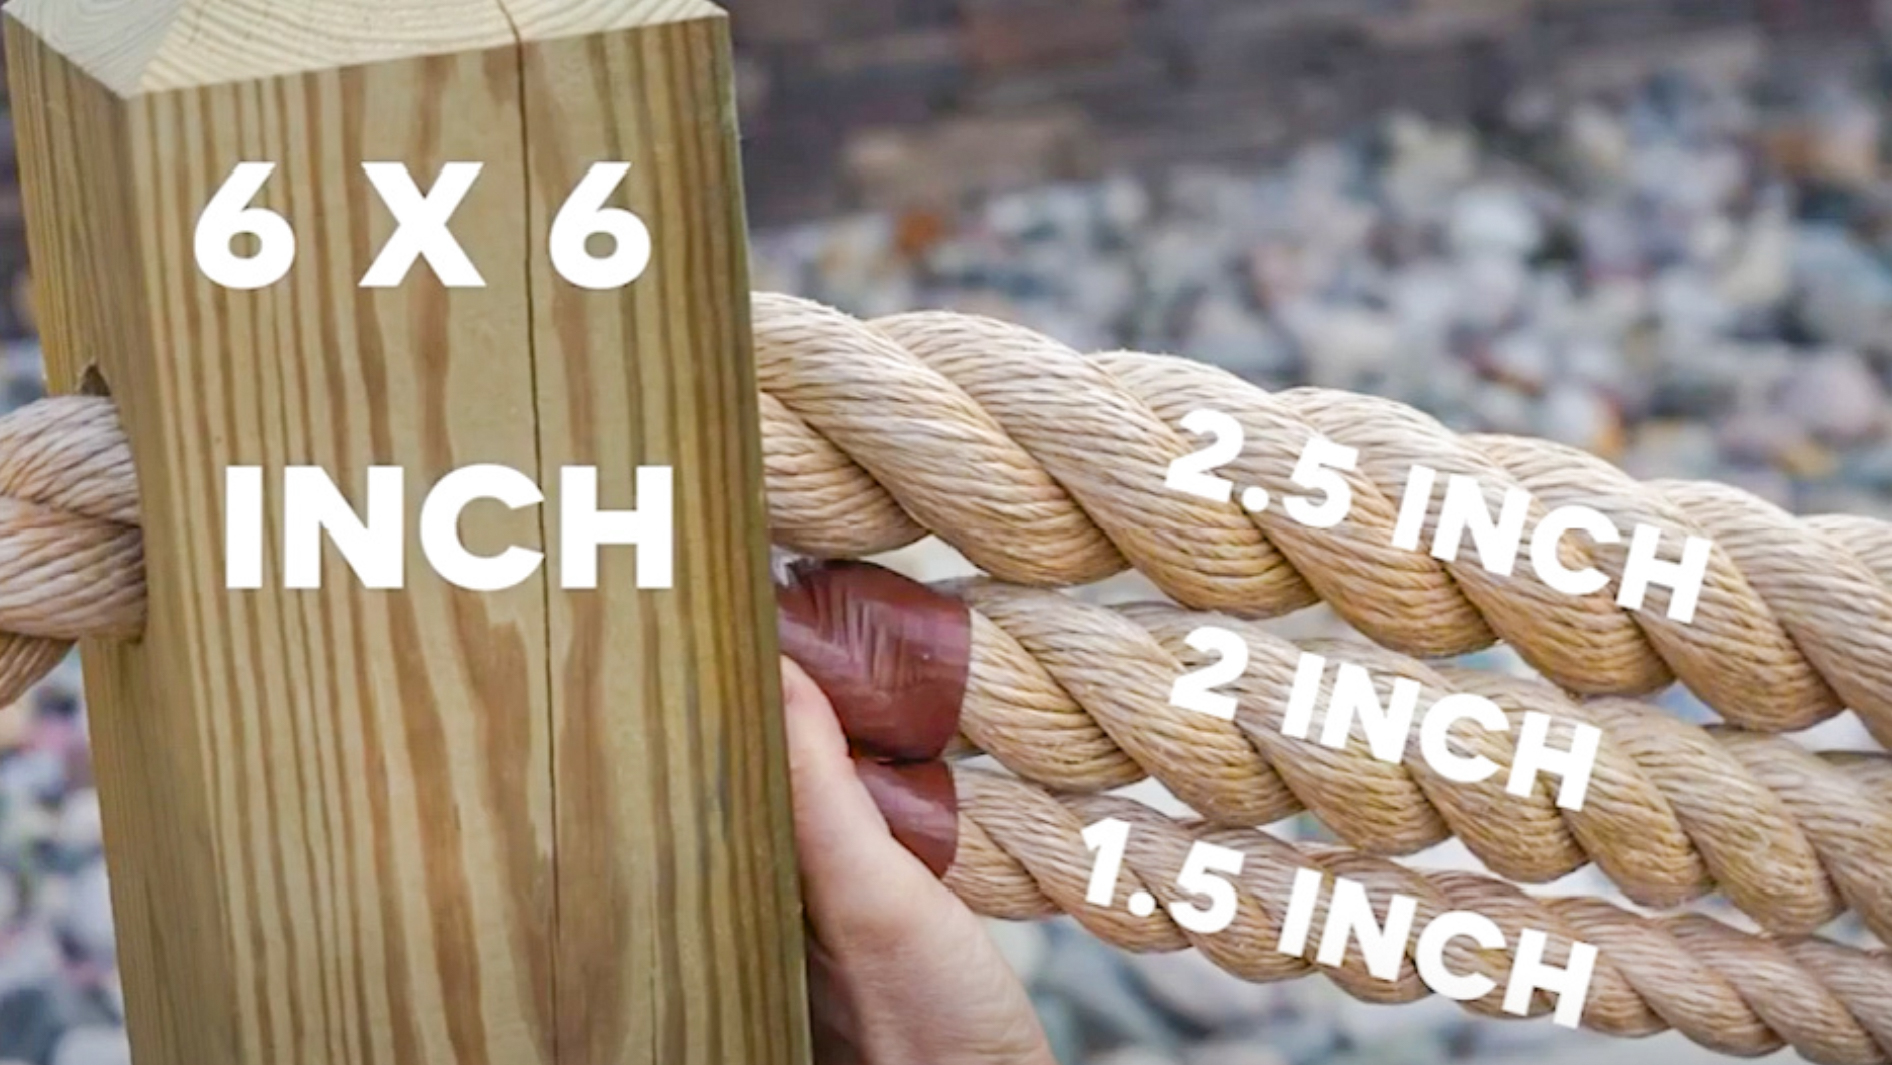
Image comparing a 6″ wooden post to 2.5″, 2″, and 1.5-inch Promanila Rope.
For this project, the customer chose 6-inch wood posts and 2 ½-inch promanila rope. Other possibilities would be 2-inch or 1 ½-inch rope, but this 2 ½-inch looks awesome!
Step 4) Calculating the length of Rope(s) you'll need
You may choose to anchor your rope halfway through the end posts. Another option is to tie the rope off on the outside of the post, or you could hang the rope on the outside of your posts using hardware. The amount of rope you will need depends on which style you choose. When making this calculation, also remember to add for sag in between each post. If you choose to use natural fiber manila rope, be sure to add 10-15% to account for shrinkage.
Step 5) Install / Attach the rope to the end posts
In our project, we drilled holes through each of our posts using a hole-saw, and a drill. It's important to note that the actual diameter of the Promanila rope is slightly larger than the listed diameter. You'll want to make sure to account for this and drill a hole that is big enough to feed your rope through.
Right Rope Pro Tip: Drill your post holes at least 1/4 inch bigger than the listed diameter of your rope
Once we feed the rope through each post, accounting for the desired sag, we attached the rope to our terminating post with lag screws.
Step 6) Sit back, and enjoy your new rope railing!
You've done it! If you watched our videos, and read this article you should be equipped to build yourself a beautiful rope railing. For more inspiration on other rope, projects check out our rope project center!


